
How To
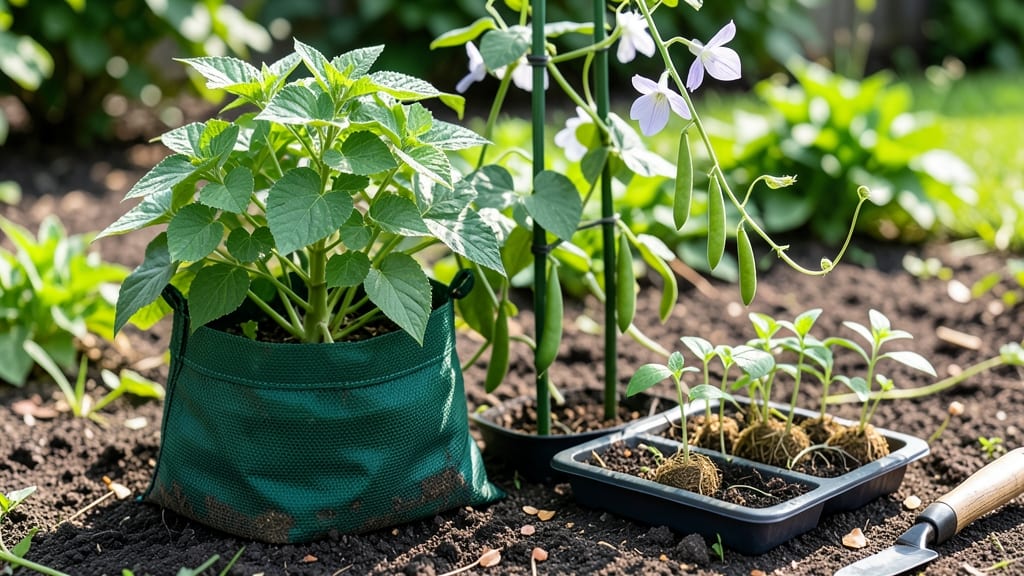
Here are some beans in a bag experiment tips to make your fast-growing project even more exciting—just grab a plastic bag, a few seeds, and watch roots sprout in days! 🌱 3-5 days never gets old. No soil, no mess, just pure plant science in action.
The secret to speed is keeping the bag upright in warm light (a sunny windowsill works) and misting it daily. You’ll spot tiny white roots within 24-48 hours, and the beans will grow fast enough to transplant or observe for weeks.
It’s the easiest way to teach germination without waiting for weeks in the ground.
📚 In This Guide
- What you need
- Instructions
- Tips and common mistakes
- Wrapping up and next steps
What you need
- ● Dried beans: 10–20 medium-sized beans (pinto, kidney, or black beans work best—they’re fast and easy!). Pro tip: Soak them overnight for a head start!
- ● Ziploc bag (quart-size): 1–2 bags (clear or translucent so you can monitor progress). Why? Humidity is key!
- ● Paper towels: 2–3 sheets (cut to fit the bag snugly). Bonus: Use unbleached towels—they’re gentler on sprouts.
- ○ Spray bottle (optional but helpful): 1 (for even moisture distribution).
- ● Ruler or measuring tape: 1 (to track growth over days).
- ● Notebook & pen: To log observations (sprout length, time, conditions).
- ● Scale: Digital kitchen scale (to weigh beans pre- and post-soak—science, baby!).
- ● Timer/alarm: Set reminders to check moisture every 6–12 hours.
- ● Second bag: For a control group (e.g., no water vs. soaked beans).
- ● Magnifying glass: To inspect root structures up close (great for kids!).
- ● Plant sprayer: If you prefer misting over spraying from a bottle.
Step-by-step instructions for speed-germinating beans in a bag
Here’s how to coax those beans to sprout in record time—no fancy equipment needed.
🌱 Step 1: Soak the Seeds Overnight for Maximum Speed
Fill a bowl with warm water (about 80°F) and add your beans. Let them soak for 8-12 hours—this softens the seed coat and kickstarts germination. You’ll know they’re ready when they’ve swollen noticeably and feel plump to the touch. Drain them well in a fine-mesh strainer afterward.
I know it seems weird to wait this long, but trust me—skipping the soak means waiting 3-5 extra days for sprouts. The longer they soak (up to 12 hours), the faster they’ll grow. Just don’t let them dry out after draining.
💧 Step 2: Pack the Bag with Moisture and Airflow
Line a quart-sized zip-top bag with a damp paper towel—wrung out so it’s moist but not dripping. Spread the soaked beans evenly inside, about 1 inch apart. The goal is to keep them snug but not crowded; overpacking traps too much moisture and risks mold.
Seal the bag loosely—leave a 1-inch gap at the top to allow airflow. You’ll see condensation form inside within hours, which is perfect. Shake the bag gently once daily to redistribute moisture and prevent clumping. This keeps all seeds in an ideal germinating environment.
☀️ Step 3: Position for Warmth and Indirect Light
Place the bag in a spot where the temperature stays between 70-80°F. A sunny windowsill works, but avoid direct sunlight—it can overheat the bag and dry out the seeds. If your home runs cooler, try a seedling heat mat set to 75°F for 24 hours to jumpstart growth.
Check the bag daily for moisture. If the paper towel feels dry, mist it lightly with warm water and reseal. You’ll see tiny white roots emerge from the beans in 2-3 days—that’s your signal everything’s working. Once sprouts reach ½ inch, they’re ready to transfer to soil.
⏰ Step 4: Transfer Sprouts to Soil When Ready
Fill small pots with light potting mix (not garden soil) and plant the sprouts ½ inch deep, spacing them 2 inches apart. Gently press soil around the roots to secure them—don’t bury the sprouts too deep, or they’ll struggle to push through. Water lightly afterward, keeping the soil damp but not soggy.
Here’s the thing—if you wait until sprouts are 1 inch tall before transplanting, they’ll handle the move better. Keep the pots in bright, indirect light for 1 week to help them adjust. You’ll know they’re thriving when new leaves unfurl and the stems firm up.
Tips & tricks for speed-germinating beans
Want to turn those beans into sprouts in record time? These little tricks will help you skip the waiting game and get growing faster.
Soak Smarter: The 8-12 hour soak is your secret weapon—don't rush it! Use a thermometer to confirm that warm water is exactly 80°F. If your kitchen feels chilly, place the bowl in a warm spot like near the oven (with the oven off) to maintain that perfect temperature. Pro tip: Add a pinch of sea salt to the soaking water (about 1 teaspoon per quart) to prevent bacterial growth while keeping the beans hydrated.
Bag Setup Secrets: That 1-inch spacing isn't just arbitrary—it creates airflow while keeping moisture trapped. Use two paper towels instead of one for extra moisture retention, especially if your kitchen tends to dry out. And here's what nobody tells you: fold the top of the bag over twice to create that 1-inch gap instead of cutting it. This keeps the bag sealed better and prevents spills when you shake it.
Heat Hack for Faster Growth: The 70-80°F range is ideal, but if your home runs cooler, don't despair. Place your bag on top of your refrigerator (not inside) for a gentle, consistent heat source. For an extra boost, wrap the bag in aluminum foil—the foil traps heat while still allowing light to penetrate. You'll see those roots emerge faster, often in just 2 days instead of 3.
Lighting Lowdown: When checking for that ½-inch sprout length, hold the bag up to a bright window at eye level—you'll spot the growth much easier. If you're using artificial light, position the bag about 6 inches away from a standard fluorescent bulb for 12 hours a day. Just remember: no direct sunlight, which can scorch the delicate sprouts and dry out the paper towel faster than you can mist it.
Pro Tips for Beans In A Bag Experiment Tips
- Want to turn those beans into sprouts in record time? These little tricks will help you skip the waiting game and get...
- Soak Smarter: The 8-12 hour soak is your secret weapon—don't rush it! Use a thermometer to confirm that warm water is...
- Bag Setup Secrets: That 1-inch spacing isn't just arbitrary—it creates airflow while keeping moisture trapped. Use tw...
Frequently asked questions
Got questions about the beans in a bag experiment? You’re not alone! Here are answers to the most common queries to help you crush your sprouting goals—no guesswork required.
How long does it take for beans to sprout in a bag?
Most beans (like mung or lentils) sprout in 3–7 days with the right conditions. Check daily for tiny white roots—once they’re 1–2 inches long, they’re ready! Humidity and warmth (70–80°F) speed things up. Patience is key, but don’t let them dry out!
Why aren’t my beans sprouting? Troubleshooting tips
If your beans seem stuck, try these fixes:
- Not enough moisture: Mist again or add a damp paper towel to the bag.
- Too cold/dark: Move to a warmer spot (like near a sunny window) or use a grow light.
- Old or hard beans: Soak overnight first to soften them.
- Mung beans (2–3 days)
- Lentils (3–5 days)
- Chickpeas (4–7 days)
- Eat raw in salads or sandwiches ( crunchy and fresh!).
- Cook lightly in stir-fries or soups (adds protein!).
- Freeze for later (blanch first to preserve texture).
- Health food stores (look for the "sprouting" section).
- Bulk bins (ensure they’re labeled "sprouting-grade").
- Online (Amazon, Thrive Market, or specialty seed shops).
- Local farms or co-ops (ask about fresh, untreated seeds).
Moldy smell? Toss them—mold means bad bacteria. Start fresh!
Pro tip: Rinse daily to prevent mold and keep oxygen flowing.
Can I use any type of bean for this experiment?
Not all beans work equally well! Best picks for fast sprouting:
Avoid dried kidney or pinto beans—they take longer and may not sprout as predictably. Stick to small, soft seeds for best results!
What can I do with the sprouted beans after the experiment?
Your sprouts are edible and nutrient-packed! Rinse them well, then:
Safety note: Always rinse sprouts thoroughly to remove bacteria. Avoid if pregnant or immunocompromised.
Where can I buy beans for sprouting?
Check these spots for organic, non-GMO seeds (better for sprouting!):
Tip: Buy in small batches to avoid waste—sprouts last only 3–5 days in the fridge!
Wrapping up and next steps
The beans in a bag experiment is a fantastic way to explore germination while saving space and effort! By following these speed-germination hacks, you’ll see faster sprouts and deeper insights into plant growth—perfect for classrooms, gardens, or curious minds. 🌱
Now that you’re armed with tips, why not take it further? Try tracking your sprouts’ growth daily, experiment with different bean types, or even compare results with friends! Every little tweak could lead to a breakthrough—happy growing! 🚀