
Vegetables
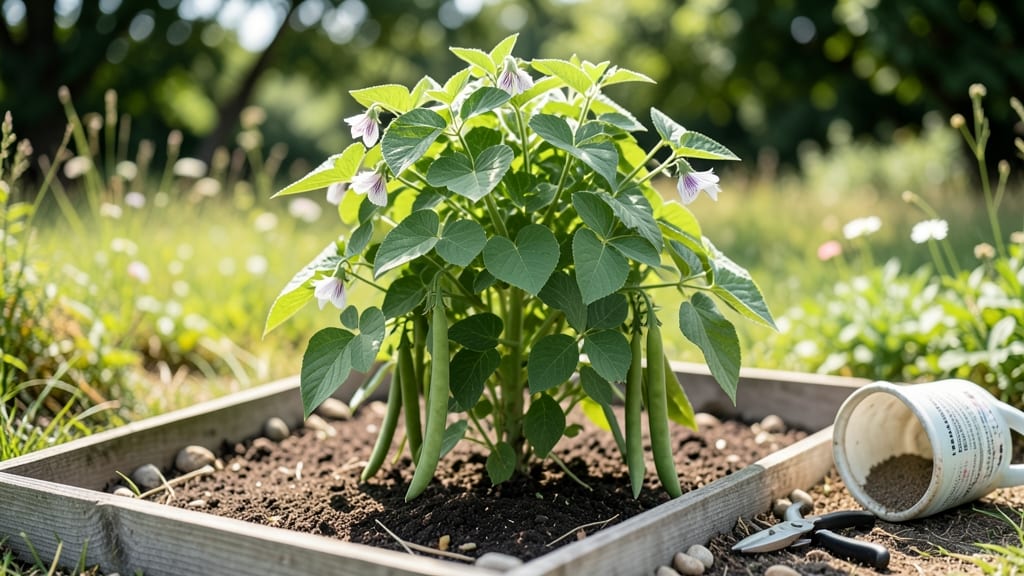
Growing beans in a cup turns a tiny corner into a productive harvest—60 days from seed to table. 🌱 I discovered this method after watching my bush beans sprawl uncontrollably, and now I grow them vertically in recycled cups, saving space while doubling my yield.
The secret is choosing the right variety and giving those roots room to breathe without taking over your counter. You’ll need just three supplies: fast-draining potting mix, a 16-ounce cup (with drainage holes), and bush or pole bean seeds.
No hydroponics required—regular soil works perfectly, though adding perlite keeps roots from drowning. Place your cup near a sunny window or under a grow light for 6-8 hours daily, and you’ll see those first tendrils appear in 3-5 days.
By day 45, you’ll be snapping fresh pods straight from your cup, and the plants will keep producing for weeks. The best part? No weeds, no bending, and no need for a yard.
Even my black thumb can’t kill these—just watch for yellowing leaves (overwatering) or stunted growth (not enough light). Works on balconies, windowsills, or even a sunny office desk. Here’s how to set it up without a single failed attempt.
📚 In This Guide
- What you need
- Instructions
- Tips and common mistakes
- Wrapping up and next steps
What you need
- ● 5-10 disposable cups (6-8 oz size, with drainage holes—use a nail or drill to make them if needed!)
- ● Potting soil (well-draining, seed-starting mix—1 cup per cup)
- ● Dried bean seeds (fast-growing varieties like Pole Beans, Scarlet Runner, or Bush Beans—3-5 seeds per cup)
- ● Watering can or spray bottle (gentle hydration is key!)
- ● Plant labels or markers (to track planting dates)
- ○ Optional: Coffee filters or paper towels (to line cups for easier cleanup)
- ○ Optional: Fertilizer (balanced 10-10-10 or compost tea) (once seedlings sprout)
- ○ Optional: Trellis or stakes (for climbing varieties—attach to the side of the cup)
- ○ Optional: Grow lights (if natural light is limited—12+ hours/day)
Step-by-step instructions for growing beans in a cup
Here’s how to grow four healthy bean plants in just a few weeks using minimal space.
🪴 Step 1: Prepare Your Containers and Soil
Fill each cup with 2 inches of moistened potting mix—don’t pack it down, just press lightly so the soil holds together. I like to add a handful of compost to the mix for extra nutrients, but even plain potting soil works. Leave about ½ inch of space between the soil and the rim of the cup. This prevents spills and gives roots room to grow.
Poke a few small holes in the bottom of each cup if they don’t already have drainage. If you’re using plastic cups, a toothpick works great—just twist it gently to create a few openings. Drainage is critical; beans hate soggy roots. Place the cups in a shallow tray to catch any excess water that drains out.
🌱 Step 2: Plant the Seeds Correctly
Drop one bean seed into each cup, about 1 inch deep. I like to use a pencil to make a small hole—it keeps the seed from rolling around. Place the seed with the curved side down; this is where the root will emerge. Cover it lightly with soil, then gently pat the surface to secure it.
Water each cup until the soil is evenly moist but not dripping. You’ll know it’s right when water runs out the drainage holes. Avoid overwatering now—beans need consistent moisture, but too much can cause the seeds to rot before they sprout. Place the cups in a warm spot, like on top of the fridge or near a sunny window.
☀️ Step 3: Provide Light and Watch for Sprouts
Within 5-7 days, you’ll see tiny green sprouts pushing through the soil. That’s your signal to move the cups to a bright, sunny spot—at least 6 hours of direct sunlight daily. If you’re growing near a window, rotate the cups every few days so the plants grow straight instead of leaning toward the light.
Once the first true leaves appear (the second set after the initial seed leaves), you can start fertilizing lightly. I use a diluted liquid fertilizer every 2 weeks to keep the plants strong. Water when the top inch of soil feels dry—don’t let it stay bone-dry, or the beans will struggle.
🌿 Step 4: Support and Harvest Your Beans
When the plants reach about 6 inches tall, they’ll need support. Thread a 4-inch wooden stake or a small popsicle stick into the soil beside each plant. Gently tie the main stem to the stake with a soft twist tie or a strip of fabric as the plant grows. This keeps them upright and makes harvesting easier.
Beans are ready to pick in about 60 days, when the pods are firm and fully colored. I like to harvest in the morning when the pods are crispest. Pinch off the pods just below the stem—this encourages more flowers and beans to form. With four cups, you’ll get a steady supply for salads, soups, or steaming.
Tips & tricks for perfect bean growth in a cup
Small spaces shouldn't mean small harvests—here's how to maximize your cup garden's potential.
Soil Prep Secret: When filling your cups with 2 inches of moistened potting mix, press it gently but firmly to eliminate air pockets. This creates a solid foundation that prevents seeds from sinking unevenly. I've found that adding a pinch of cinnamon to the soil mix (just a sprinkle!) helps deter mold without harming the plants—trust me, it works.
Drainage Hack: If your cups don't have drainage holes, don't skip this step! Use a nail or toothpick to create 3-4 small holes in the bottom. Place a coffee filter or paper towel over the holes before adding soil to prevent clogging. This simple step prevents root rot, which is the #1 killer of container-grown beans.
Light Strategy: For the critical 6 hours of daily sunlight, position your cups near a south-facing window if possible. If natural light is limited, supplement with a grow light placed 6-12 inches above the plants for 12-14 hours daily. The key is consistency—beans need reliable light to develop properly.
Watering Wisdom: The "finger test" is your best friend here. Stick your finger about 1 inch into the soil—when it feels dry, that's when to water. Early in the process, water gently to avoid disturbing the seeds. Once sprouts appear, water at the base rather than from above to prevent fungal issues.
Pro Tips for Beans In A Cup
- Small spaces shouldn't mean small harvests—here's how to maximize your cup garden's potential.
- Soil Prep Secret: When filling your cups with 2 inches of moistened potting mix, press it gently but firmly to eliminate air pockets.
- Drainage Hack: If your cups don't have drainage holes, don't skip this step!
Frequently asked questions
Got questions about growing beans in a cup? You’re not alone!
Here are the most common queries—and quick answers—to help you get started with this space-saving method.
How do I know when my beans in a cup are ready to harvest?
Your beans will be ready to harvest in about 60 days (depending on the variety). Look for pods that are firm, plump, and slightly curved—usually 4-6 inches long. If left too long, they’ll dry out or split open. Pro tip: Pick them in the morning for the freshest flavor!
Can I use any type of cup for growing beans?
Not all cups work! Opt for 6-8 inch deep containers with drainage holes. Plastic cups with lids (like yogurt cups) are great for humidity control, while fabric grow bags or even repurposed buckets work too. Avoid shallow containers—they won’t support root growth. Skip: Paper cups (they’ll disintegrate) or cups without drainage.
How often should I water beans in a cup?
Keep the soil consistently moist but not soggy. Water when the top inch feels dry—usually every 2-3 days (more in hot weather). Overwatering can cause root rot, so check drainage daily. Bonus tip: Use a spray bottle for gentle watering to avoid disturbing seedlings.
What if my beans in a cup aren’t growing? Troubleshooting guide!
Here’s a quick fix-it list:
No sprouts? Check soil moisture (too dry or cold can stall germination). Try a warm spot near a sunny window.
Yellow leaves? Overwatering or poor drainage. Let the soil dry slightly between waterings.
Leggy or weak stems? Needs more light! Move to a sunnier spot (6+ hours of light daily).
Pests (like aphids)? Spray with soapy water or introduce ladybugs for natural pest control.
Can I grow beans in a cup indoors year-round?
With grow lights (LED or fluorescent) and a sunny windowsill, you can harvest beans indoors anytime. Just ensure proper airflow (open a window occasionally) and rotate cups weekly for even growth. Winter hack: Use a heat mat to keep soil warm if your home is chilly.
Are beans in a cup as nutritious as traditional garden beans?
Yes! They pack the same protein, fiber, and vitamins (like folate and magnesium) as garden-grown beans. Since they’re grown in controlled conditions, they’re also pesticide-free and free from soil contaminants. Fun fact: One cup of cooked beans counts as a serving of veggies!
Wrapping up and next steps
Growing beans in a cup is a game-changer for small spaces and busy gardeners—proof that you don’t need a backyard to harvest fresh, homegrown veggies in just 60 days! 🌱 Whether you’re a beginner or a seasoned plant parent, this method is simple, rewarding, and perfect for urban dwellers.
With minimal space and a little patience, you’ll enjoy crisp, flavorful beans right from your kitchen counter.
Ready to take the next step? Start with one cup—experiment with varieties, tweak your setup, and soon, you’ll be sharing your tiny harvest with friends or expanding to a full windowsill garden. Happy growing! 🌟