
Vegetables
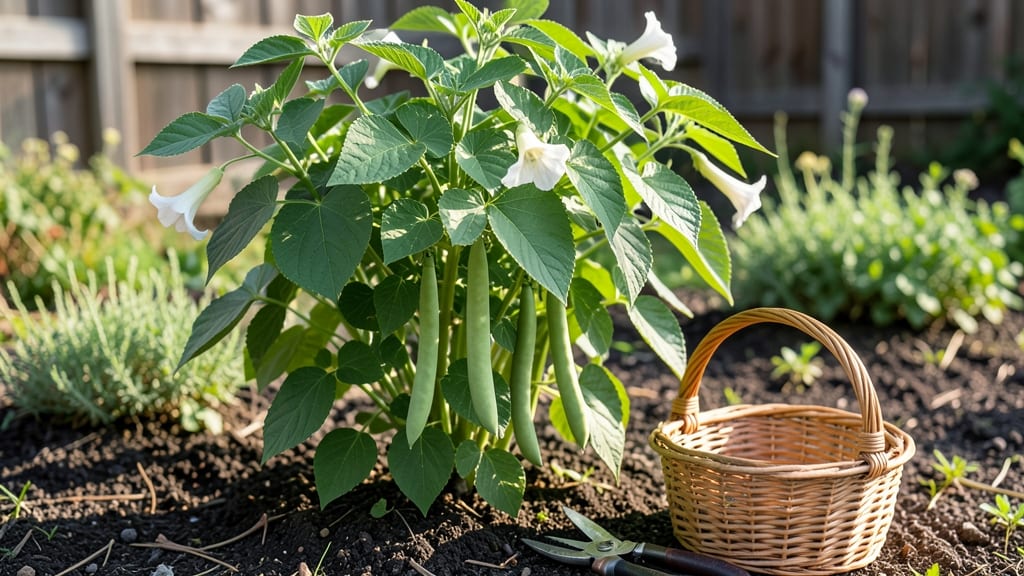
The best way to preserve green beans is to match your method to your goals—freezing keeps them freshest, canning offers shelf-stable convenience, and drying concentrates their flavor for year-round use. 🌱 creates lightweight pantry staples. I’ve tried all three, and each has its perfect moment in the kitchen.
Start with bright green, firm beans—no yellowing or wrinkles. For freezing, blanch them first to lock in color and texture, while canning requires pressure processing to ensure safety. Drying, though slower, gives you beans that last for years in your pantry.
The key is speed: whether you’re blanching, processing, or dehydrating, work quickly to preserve that garden-fresh crunch.
You’ll end up with beans that taste like summer, even in January. Frozen beans stay crisp for months, canned ones last years on the shelf, and dried beans are perfect for soups and stews.
The best part? No more rushing to use up your harvest before it spoils. Each method takes less than 30 minutes of active time, and the payoff is worth it.
Space-efficient and beginner-friendly, these methods adapt to any kitchen. Whether you’ve got a busy schedule or limited storage, preserving green beans is simpler than you think. Let’s get started—your future self will thank you!
📚 In This Guide
- What you need
- Instructions
- Tips and common mistakes
- Wrapping up and next steps
What you need
- ● Fresh green beans: 1–2 lbs (preferably harvested at peak ripeness—look for vibrant green, firm pods with no soft spots).
- ● Water: 2–3 gallons (for blanching, canning, or pickling—use filtered or distilled for best results).
- ● Ice: 1–2 cups (for shock-cooling blanched beans).
- ● Salt: 1–2 tbsp (for blanching water or pickling brine—iodized or kosher works best).
- ● Vinegar (for pickling): 1 cup white vinegar (5% acidity) per quart of jars.
- ● Lemon juice or citric acid (alternative): 2 tbsp per quart (if pickling without vinegar).
- ○ Sugar (optional for sweet pickles): ½ cup per quart.
- ○ Garlic, spices, or herbs (optional flavors): 2–3 cloves garlic, 1 tsp mustard seeds, or 1 tbsp dill (adjust to taste).
- ● Large pot: 6–8 quart capacity (for blanching or canning).
- ● Colander or strainer: Stainless steel, large enough to hold all beans at once.
- ● Bowls: 2–3 ice-cold bowls (for shock-cooling).
- ● Cutting board + sharp knife: For trimming ends (a mandoline slicer speeds up prep for pickling!).
- ○ Freezer bags or airtight containers: Vacuum-seal bags (optional but ideal for freezing).
- ● Canning jars (for hot-water bath): Pint or quart-sized, new or sterilized (check for cracks).
- ● Jar lifter + canning rack: Essential for safe water bath canning.
- ● pH meter or tester strips: Highly recommended for canning to ensure safety (acidity should be ≥4.6).
- ● Tongs or clean spoons: For handling hot jars.
- ● Labels + marker: To date and describe your preserved beans!
- ● Vacuum sealer: Extends freezer life to up to 18 months.
- ● Food dehydrator: For making crunchy green bean chips (set to 125°F/52°C).
- ● Pickling spices blend: Pre-mixed for convenience (e.g., mustard seed + peppercorns).
- ● Citric acid powder: Boosts acidity in homemade pickles.
- ● Thermometer: To monitor water temps during blanching/canning (140°F/60°C for blanching, 180–212°F/82–100°C for canning).
Step-by-step instructions for preserving green beans the best way
Here's how I keep green beans crisp, vibrant, and ready to enjoy long after harvest season ends.
🌱 Step 1: Harvest and Prepare Fresh Green Beans
Pick green beans when pods are firm, crisp, and bright green—this ensures peak flavor and texture. Harvest on a dry morning to avoid moisture on the pods. Rinse them briefly under cool water, then pat completely dry with a clean kitchen towel. Any lingering moisture encourages mold during storage.
Trim the ends cleanly with a sharp knife, removing about ¼ inch from the stem end. This step prevents discoloration and makes the beans look more uniform. Spread them out on a baking sheet lined with paper towels to air-dry for 10-15 minutes—this extra drying step is key for long-term preservation.
💧 Step 2: Choose Your Preservation Method
For the best results, I recommend either freezing (to maintain crispness) or canning (for shelf-stable convenience). Freezing is simpler and preserves texture better, while canning creates pantry staples that last years. Both methods require properly prepared beans—blanching is non-negotiable for either approach.
For freezing, pack beans into airtight containers or freezer bags, removing as much air as possible. Label with the date and variety—beans stay best for 9-12 months in the freezer. For canning, use a pressure canner and pint-sized jars, leaving 1-inch headspace to prevent jar breakage during processing.
☀️ Step 3: Blanch Before Preservation
Blanching stops enzyme activity that causes spoilage and preserves color. Bring a large pot of water to a rolling boil, then prepare an ice bath in a separate bowl. Add beans to the boiling water and cook for exactly 3 minutes—any longer and they'll turn mushy. Immediately drain and transfer to the ice bath for 3 minutes to halt cooking.
Drain again thoroughly, then spread beans on a clean towel to dry completely. This step is critical—moisture trapped in containers leads to freezer burn or moldy jars. For freezing, pack beans directly from the towel into containers. For canning, fill jars with hot beans and boiling water, leaving the required headspace.
⏰ Step 4: Process According to Method
For freezing, seal containers tightly and label with the date. Place in the freezer, arranging flat to save space. For canning, process pint jars in a pressure canner for 25 minutes at 10 pounds pressure (adjust for altitude). Remove jars and let cool undisturbed for 12-24 hours—this allows the lids to seal properly.
Check seals by pressing the center of each lid—it should pop back when pressed and stay sealed. Any unsealed jars should be refrigerated and used within a week. Properly sealed canned beans last 1-2 years in a cool, dark pantry, while frozen beans maintain quality for 9-12 months.
🌿 Step 5: Store and Use Preserved Beans
Store frozen beans in the coldest part of your freezer, ideally below 0°F. For canned beans, keep jars in a dark, dry place away from heat sources. When ready to use, thaw frozen beans in the refrigerator overnight or cook directly from frozen in soups and stews.
Canned beans can be used straight from the jar—just rinse briefly if you prefer a fresher taste. The beauty of this method is that you'll always have beans on hand for quick meals, from stir-fries to casseroles. The first time you pull a jar from your pantry and taste that preserved crunch, you'll understand why this is the best way to enjoy green beans year-round.
Tips & tricks for perfectly preserved green beans
Real talk: The difference between sad, limp beans and crisp, vibrant ones after preservation comes down to these game-changing details.
Blanching Precision: Those exact 3 minutes in boiling water and 3 minutes in ice water are non-negotiable for crispness. I've learned the hard way—any longer in hot water and they turn to mush, any shorter and enzymes don't fully deactivate. Use a timer! For extra color retention, add 1 tablespoon of lemon juice to the ice bath—it helps maintain that bright green hue.
Drying is Everything: After blanching, spread beans on a clean kitchen towel and let them air-dry completely before packing. I mean it—no wet spots! Any moisture trapped in containers leads to freezer burn or moldy jars. For canning, this step prevents headspace issues during processing. Think of it as the final insurance policy for your preserved beans.
Freezer Packing Strategy: When packing beans for freezing, don't just toss them in bags—arrange them in a single layer on a tray first and freeze solid. Then transfer to bags. This prevents clumping and makes portioning easier later. Label containers with both the date and variety—trust me, you'll forget otherwise! The 9-12 month shelf life starts from your packing date.
Pro Tips for Best Way To Preserve Green Beans
- Real talk: The difference between sad, limp beans and crisp, vibrant ones after preservation comes down to these game-changing details.
- Blanching Precision: Those exact 3 minutes in boiling water and 3 minutes in ice water are non-negotiable for crispness.
- Drying is Everything: After blanching, spread beans on a clean kitchen towel and let them air-dry completely before packing.
Frequently asked questions
Got questions about keeping your green beans fresh and flavorful? You’re not alone! Here are some of the most common concerns—and their answers—to help you preserve your harvest like a pro.
How long do green beans last in the fridge?
Fresh green beans stay crisp for 5–7 days when stored properly. Place them in a single layer on a paper towel inside a perforated plastic bag or a ventilated container. Avoid washing them until ready to use—excess moisture speeds up spoilage. Pro tip: Trim the ends before storing to slow down wilting!
Can I freeze green beans without blanching?
Blanching is key! Skipping it leads to mushy, dull beans. Dip beans in boiling water for 3–4 minutes, then plunge into ice water before freezing. This step preserves color, texture, and nutrients. For a shortcut, try steam blanching (2–3 minutes) if you’re short on time.
What’s the best way to revive wilted green beans?
Don’t toss them! Soak wilted beans in ice water for 10–15 minutes to crisp them up. Pat dry and store in the fridge for another 1–2 days. For extra crunch, blanch them again briefly (1–2 minutes in boiling water) before cooking. Warning: If they’re slimy or smell off, compost them instead.
Are pickled green beans healthier than canned?
Both have benefits! Pickled beans retain more nutrients (like vitamin K) and have probiotics from fermentation. Canned beans are convenient but may lose some vitamins due to processing. For the healthiest option, pickle your own with vinegar, garlic, and herbs—no preservatives needed!
Why do my frozen green beans turn gray or mushy?
Gray or mushy beans usually mean oxidation or improper storage. Always blanch first and freeze in a single layer before transferring to bags (to prevent clumping). Press out excess air, label with the date, and store for up to 12 months. Quick fix: If thawed, sauté with a splash of lemon juice to brighten color and texture.
Wrapping up and next steps
Preserving green beans is easier than you think—whether you blanch, freeze, ferment, or can, the key is speed, freshness, and the right technique. With these methods, you’ll enjoy crunchy, vibrant green beans all year round, packed with nutrients and flavor.
Now that you’re armed with the best strategies, it’s time to put them into action!
🌱 Your Next Step: Try One Today!
Pick a method that fits your lifestyle—freezing for convenience, fermenting for probiotics, or canning for pantry staples. Grab a batch of fresh green beans, follow your favorite technique, and taste the difference in months to come. Happy preserving! 🥬✨