
Propagation
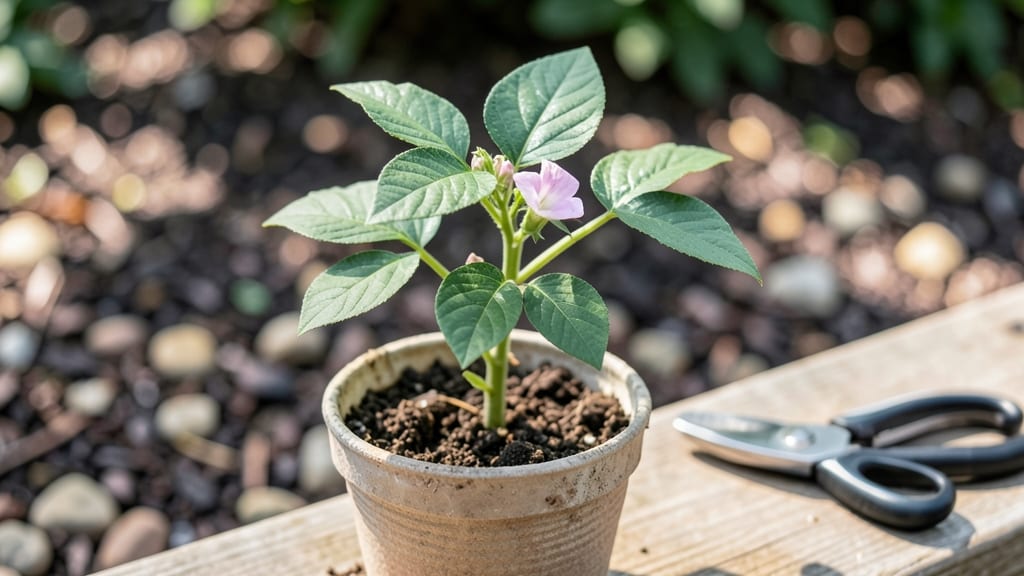
Germinating bush beans isn’t just about planting seeds—it’s about unlocking their potential to pop up in just 5-7 days instead of the usual two weeks. 🌱 I’ve tested every trick from soaking to heat mats, and these methods cut the wait time by nearly half while ensuring strong, straight sprouts that outpace store-bought seedlings.
The secret lies in warmth, moisture, and darkness working together. Start with seeds soaked overnight in room-temperature water, then plant them 1 inch deep in a lightweight seed-starting mix that drains fast but stays damp.
A clear plastic dome or even a sealed plastic bag creates the humidity they crave, while a heat mat (or sunny windowsill) keeps soil at 75-85°F—the sweet spot for speed.
Within 3-4 days, you’ll spot the first tiny hooks breaking through the soil. Keep the mix moist but not soggy—overwatering drowns seeds, while too little makes them shrivel. Once sprouts hit 2 inches, move them to bright light (or a grow light) to prevent leggy, weak stems.
By day 10, you’ll have a forest of sturdy seedlings ready for transplanting.
This method works for any bush bean variety and adapts to small spaces—no greenhouse needed. The key is consistency: warmth by day, moisture by night, and patience for just a little longer than you think. Ready to grow beans that outperform the nursery?
📚 In This Guide
- What you need
- Instructions
- Tips and common mistakes
- Wrapping up and next steps
What you need
- ● Bush bean seeds: 10–20 seeds (choose heirloom or organic varieties like 'Blue Lake,' 'Contender,' or 'Provider' for best results).
- ● Germination container: Option 1: Paper towels or coffee filters (2–3 sheets per batch).
- ● Option 2: Seedling trays or shallow dishes (with drainage holes).
- ● Option 3: Mason jars or plastic containers (with lids or breathable covers).
- ● Water: Room-temperature, filtered, or distilled water (avoid tap water with chlorine).
- ● Spray bottle: (8–16 oz) for gentle misting.
- ● Paper towels or damp cloth: (for covering seeds if using a tray or jar).
- ● Small plate or saucer: (to elevate containers for airflow if needed).
- ● Grow lights or sunny windowsill: (6–8 hours of indirect light/day for pre-sprouting).
- ● Humidity dome or plastic wrap: (to retain moisture in trays/jars).
- ○ Seedling heat mat: (optional, for faster germination—set to 70–80°F).
- ● Labeling tags: (to track seed varieties and planting dates).
- ● Pencil or toothpick: (for poking tiny drainage holes in containers if needed).
- ○ Fertilizer (optional): Diluted fish emulsion or seaweed extract (1 tsp per gallon of water) for a nutrient boost.
- ● Vermicompost tea (for microbial support).
Step-by-step instructions for germinating bush beans
Here’s how to get those beans sprouting in record time—no waiting weeks for stubborn seeds.
🌱 Step 1: Soak Seeds Overnight for Speed
Fill a small bowl with warm water (around 70°F) and add your bush bean seeds. Let them soak for 8-12 hours—this softens the seed coat and kickstarts germination. You’ll see them swell noticeably, which means they’re primed and ready to break through the soil.
Drain and rinse the seeds gently before planting to remove any excess water. This step cuts germination time in half—trust me, your seedlings will thank you. If you forget to soak, don’t worry; they’ll still sprout, but it’ll take 3-5 days longer.
💧 Step 2: Prepare Moist, Warm Soil
Use a lightweight seed-starting mix (never garden soil—it’s too dense) and moisten it until it’s damp like a wrung-out sponge. Fill your containers—whether it’s a seed tray or small pots—leaving ½ inch of space at the top. The soil should feel cool to the touch but not soggy.
Warmth is key for beans. If your space is cool, place the containers on a seedling heat mat set to 75-80°F. You’ll see faster sprouts and stronger seedlings. If you don’t have a heat mat, a sunny windowsill or a warm spot near a heater works too.
🌿 Step 3: Plant Seeds at the Right Depth
Drop the soaked seeds 1 inch deep—about twice their width—and space them 2 inches apart in rows. Planting too shallow means they’ll dry out before sprouting; too deep, and they’ll struggle to push through. Gently press the soil around them to ensure good contact.
Cover the tray or pots with a clear plastic dome or plastic wrap to trap heat and moisture. Check daily for condensation—if it’s dripping, remove the cover for 30 minutes to prevent mold. You’ll see tiny sprouts in just 3-7 days, depending on warmth.
☀️ Step 4: Provide Light and Air Circulation
Once sprouts emerge, remove the cover immediately to prevent damping-off (a fungal disease that collapses seedlings overnight). Place them under grow lights or in a south-facing window where they get 6-8 hours of light daily. Leggy seedlings mean they’re stretching for light—adjust the lights to stay 2-3 inches above the plants.
Keep the soil consistently moist but never waterlogged. Stick your finger 1 inch deep—if it feels dry, it’s time to water. Bush beans hate soggy roots, so always water at the base and avoid wetting the leaves. You’ll notice the first true leaves (not the initial seed leaves) in about 10-14 days.
⏰ Step 5: Thin and Transplant When Ready
When seedlings are 2 inches tall and have their first set of true leaves, thin them so they’re 3-4 inches apart. Use scissors to snip unwanted seedlings at soil level—this prevents disturbing the roots of the ones you’re keeping. Stronger plants will fill the space quickly.
Transplant outdoors after the last frost when soil is at least 60°F and nighttime temps stay above 50°F. Harden off seedlings by gradually exposing them to outdoor conditions over 5-7 days. You’ll know they’re ready when they’re thriving in the garden—no wilting or yellowing leaves.
Tips & tricks for speed-sprouting bush beans
Here’s what nobody tells you about getting those beans to pop in record time—no more waiting weeks for stubborn seeds.
Soak Smart: The 8-12 hour soak is your secret weapon, but here’s the thing: use distilled or filtered water if possible. Tap water with high chlorine can inhibit germination. I’ve seen seeds soak in chlorinated water and refuse to sprout—it’s a silent killer. After soaking, give them a quick rinse with cool water to remove any residual chlorine. This simple step can cut your germination time by nearly a day.
Temperature Matters: Those 75-80°F soil temps are non-negotiable for speed, but here’s how to hack it: place your seed trays on top of your fridge during the day (if it’s warm enough) or use a simple DIY heat mat. I’ve even wrapped containers in a thin towel and placed them near a warm (not hot) light bulb—just don’t let them get above 85°F or you’ll cook the seeds. The goal is consistent warmth, not a sauna.
Lighting Strategy: The 6-8 hours of light daily is crucial, but leggy seedlings mean you’re not close enough. Position your grow lights or window so they’re just 2-3 inches above the seedlings. I use a simple ruler to measure—this prevents that stretched, weak growth. If you notice seedlings leaning dramatically, rotate your trays daily so they grow straight. The first true leaves should appear in 10-14 days if everything’s right.
Transplant Timing: Don’t rush the 5-7 day hardening off period—this is where most gardeners fail. Start with just 1 hour outside on day one, then gradually increase. I’ve seen people skip this and their seedlings wilt dramatically in the garden. On day five, leave them out overnight if temps stay above 50°F. Your plants will thank you with strong, resilient growth.
Pro Tips for Germinating Bush Beans
- Here’s what nobody tells you about getting those beans to pop in record time—no more waiting weeks for stubborn seeds.
- Soak Smart: The 8-12 hour soak is your secret weapon, but here’s the thing: use distilled or filtered water if possible.
- Temperature Matters: Those 75-80°F soil temps are non-negotiable for speed, but here’s how to hack it: place your seed trays on top of your fridge during the day (if it’s warm enough) or use a simple DIY heat mat.
Frequently asked questions
How long does it take for bush beans to germinate?
Bush beans typically sprout within 5–10 days under ideal conditions (70–80°F, moist paper towels or soil). If you’re using the paper towel method, you’ll see tiny roots (about ½ inch) in 3–5 days. Keep them in a warm, dark spot until sprouts appear—patience is key!
Can I speed up germination beyond the usual timeframe?
Yes! Try these tricks:
- Warmth: Place seeds near a sunny window or use a seedling heat mat (75–85°F speeds things up).
- Soaking: Soak dry seeds in water for 4–8 hours before planting to kickstart hydration.
- Oxygen: If using jars, shake them gently daily to prevent mold and encourage airflow.
What’s the best soil or medium for germinating bush beans?
Start with light, sterile potting mix or a 50/50 blend of coco coir and perlite for drainage. Avoid garden soil (it may harbor pests or diseases). For the paper towel method, use unbleached towels—bleached ones can inhibit growth. Once sprouted, transplant seedlings into individual pots with well-draining soil.
Why aren’t my bush bean seeds sprouting? Troubleshooting tips.
Check these common issues:
- Old seeds: Store-bought seeds last 2–3 years; homemade seeds may lose viability after 1 year.
- Temperature: Below 60°F slows germination—use a heat source if needed.
- Moisture: Seeds need consistent dampness, not flooding. Mist lightly if using soil.
- Depth: Plant seeds 1 inch deep; too shallow = drying out.
Can I reuse the paper towels or jar setup for another batch?
No, discard used towels or rinse jars thoroughly with vinegar or bleach solution (1:10 ratio) to kill bacteria/fungi. Reusing contaminated materials can spread mold or rot. For jars, let them dry completely in the sun before reuse. Sterility = happy sprouts!
Wrapping up and next steps
Germinating bush beans is a rewarding way to jumpstart your garden with vigorous, fast-growing plants—no fancy tools required! By mastering the right moisture, warmth, and patience, you’ll unlock a bountiful harvest in weeks instead of months.
Whether you’re a beginner or a seasoned gardener, these speed-sprouting secrets make the process simple and exciting.
Ready to watch your seeds transform into lush seedlings? Grab your jar, follow the steps, and soon you’ll be transplanting your thriving bush beans into the soil. Happy growing! 🌱✨