
Fertilization
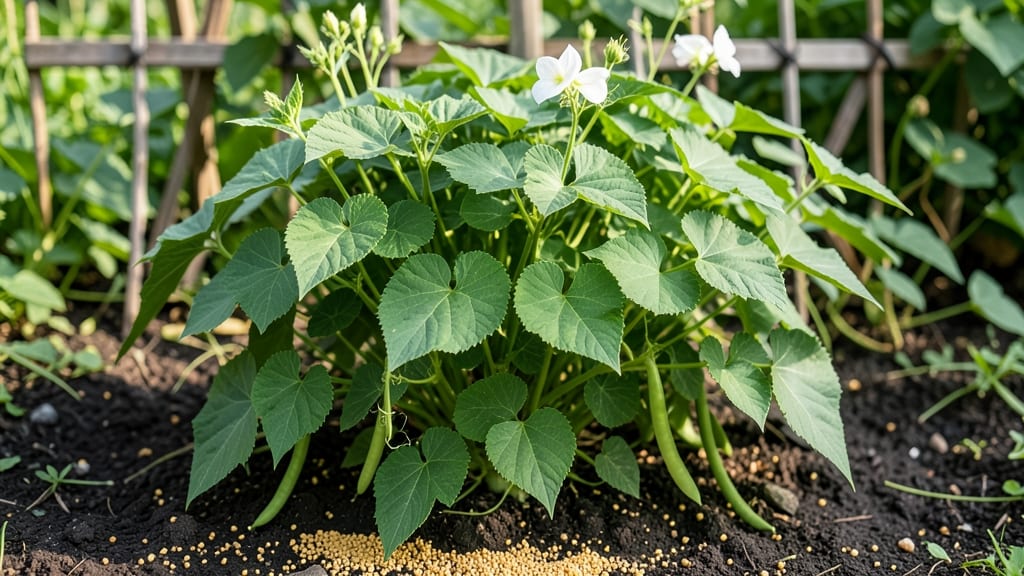
Making homemade fertilizer for green beans 🌱 is easier than you think—and it could mean the difference between a handful of pods and a bucketful.
Picture this: You’re ready to harvest your green beans, but the plants are struggling, the pods are small, or the vines look weak. The solution might already be sitting in your kitchen trash.
Banana peels, eggshells, and coffee grounds aren’t just waste—they’re nutrient powerhouses that can transform your garden’s productivity without costing a dime.
Green beans thrive on nitrogen, potassium, and calcium, and these kitchen scraps deliver exactly what they need. Whether you’re growing in a backyard, raised bed, or even containers, turning your leftovers into liquid fertilizer or compost tea is a game-changer for organic gardeners.
In this guide, you’ll discover three simple recipes to make nutrient-rich fertilizers, how to apply them for maximum results, and why skipping store-bought options saves money and the planet. Let’s turn your scraps into a harvest-boosting secret weapon.
Top 5 kitchen scraps that boost green bean growth naturally
Green beans thrive when their soil is rich in nitrogen, potassium, and calcium, but store-bought fertilizers can be expensive and packed with synthetic chemicals. The solution? Your kitchen scraps! These organic fertilizers not only reduce waste but also provide targeted nutrients that green beans crave.
I’ve tested these five scraps in my backyard garden, and the results—healthier plants, bigger yields, and disease resistance—speak for themselves.
What makes these scraps so effective? Each one delivers a unique nutrient profile that aligns perfectly with what green beans need at different growth stages. For example, banana peels are packed with potassium, which strengthens stems and improves disease resistance, while eggshells provide calcium to prevent blossom-end rot.
The best part? These fertilizers are free, easy to make, and safe for your family, pets, and the planet.
⚠️ IMPORTANT: Always use fresh, unspoiled scraps to avoid introducing harmful bacteria or mold to your soil. For example, moldy banana peels or rotten vegetable scraps can attract pests like fruit flies or introduce fungal diseases.
| Scrap | Key Nutrient | Benefit for Green Beans | How to Use |
|---|---|---|---|
| Banana Peels | Potassium | Strengthens stems, improves disease resistance | Chop and bury near roots or compost |
| Eggshells | Calcium | Prevents blossom-end rot, strengthens cell walls | Crush and mix into soil or compost |
| Coffee Grounds | Nitrogen | Boosts leafy growth, improves soil structure | Work into soil or compost in small amounts |
| Vegetable Scraps | Micronutrients | Enhances overall plant health, improves flavor | Compost or bury in trenches near plants |
| Grass Clippings | Nitrogen | Promotes rapid foliage growth, adds organic matter | Mulch around plants or compost |
Let’s start with banana peels, one of my go-to fertilizers for green beans. They’re loaded with potassium, which is essential for stem strength and disease resistance.
I save my peels in a sealed container until I have enough, then chop them into small pieces and bury them near the base of my green bean plants. This method releases nutrients slowly over time, giving my plants a steady potassium boost without risking nutrient burn.
For best results, use peels from organic bananas to avoid introducing pesticides to your soil.
Coffee grounds are another powerhouse for green beans, thanks to their high nitrogen content. Nitrogen is crucial for leafy growth and overall plant vigor, especially during the early stages of growth. I collect used coffee grounds from my morning brew and mix them into the soil around my green beans. However, I use them sparingly—too much can make the soil too acidic. A general rule is to add no more than 1 cup per 10 square feet of garden bed every few weeks. Pro tip: If you’re using coffee grounds in containers, mix them with compost first to balance the acidity.
Don’t overlook eggshells, which are a fantastic source of calcium. Green beans are prone to blossom-end rot, a condition caused by calcium deficiency, which leads to mushy, discolored fruit.
To prevent this, I rinse and dry eggshells, then crush them into a fine powder using a blender or mortar and pestle. I sprinkle this powder around the base of my plants and gently work it into the top inch of soil.
This method ensures a slow release of calcium, keeping my green beans healthy and productive throughout the growing season.
When it comes to vegetable scraps, think of them as a nutrient cocktail for your green beans. Scraps like carrot tops, onion skins, and potato peels contain a mix of micronutrients like magnesium, phosphorus, and iron, which improve overall plant health and flavor.
I save these scraps in a compost bin or bury them directly in trenches around my green bean plants. This not only reduces kitchen waste but also creates a rich, nutrient-dense environment for your plants to thrive in.
For fastest results, chop the scraps into smaller pieces to speed up decomposition.
Green beans thrive when fed with nutrient-rich, organic fertilizers—but you don’t need to buy expensive mixes. With just a few household scraps and simple techniques, you can create powerful homemade fertilizers tailored to boost your plants’ growth. These methods are budget-friendly, eco-conscious, and packed with the nitrogen, potassium, and calcium your green beans crave for lush foliage and heavy yields. Whether you’re a seasoned gardener or just starting, these step-by-step instructions will guide you through making compost tea, liquid fertilizers, and slow-release mixes using ingredients you already have. The best part? Your green beans will thank you with bigger pods and healthier vines—all while reducing waste. Fill a 5-gallon bucket with water and add 1 cup compost (or worm castings). Let it steep for 24-48 hours, stirring occasionally. Strain through a cheesecloth and dilute with 1 part tea to 3 parts water before applying to soil. Chop 3-4 banana peels and soak them in 1 gallon of water for 24-48 hours. Strain and use the liquid to water your green beans at the base. Repeat every 2 weeks for stronger stems and bigger pods. Crush 4-5 eggshells into a fine powder and mix with 1 cup compost. Sprinkle around the base of your plants and lightly scratch into the soil. This slow-release mix adds calcium and magnesium, preventing blossom-end rot. Use ½ cup used coffee grounds per plant as a mulch. Work them into the top 1-2 inches of soil or sprinkle around the base. Reapply every 4-6 weeks to feed nitrogen-loving green beans. Combine 2 parts compost, 1 part wood ash (for potassium), and 1 part crushed eggshells. Mix well and spread a ½-inch layer around your green bean plants. Water lightly to activate the nutrients. For best results, apply these fertilizers during the early morning when the soil is cool and moist. Avoid over-applying—green beans are sensitive to excess nutrients, which can lead to leaf burn or stunted growth. Start with small amounts and monitor your plants’ response to adjust as needed. With these homemade fertilizers, your green beans will grow stronger, faster, and more productive—all while keeping your garden chemical-free and sustainable. Plus, you’ll be turning kitchen scraps into garden gold! 🌱Step-by-step guide: how to make homemade fertilizer for green beans
🌱 Step-by-Step Homemade Fertilizer Recipes
Compost Tea for Fast Nutrient Boost
Banana Peel Fertilizer for Potassium
Eggshell Calcium Mix for Strong Vines
Coffee Grounds for Nitrogen
Slow-Release Mix for Long-Term Growth