
How To
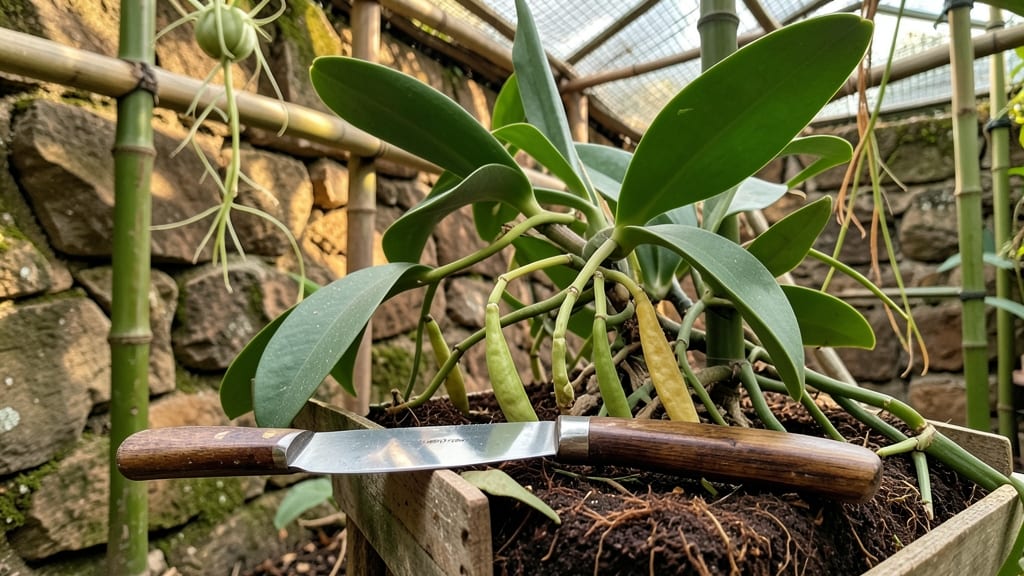
How are vanilla beans harvested—it’s a delicate process of hand-pollination and patient waiting, since these pods only mature 8-12 months after flowering in tropical regions like Madagascar or Mexico.
Did you know vanilla beans are the world’s only orchid pollinated entirely by hand? This rare process transforms a delicate flower into the prized spice behind gourmet desserts—and it takes over 6 months from pollination to harvest.
If you’re dreaming of growing your own 🌿 vanilla, the key is timing: pods must turn yellow and wrinkle before they’re ready. Too early, and they’re bitter; too late, and they lose flavor.
I’ll walk you through every step, from spotting the perfect pod to curing it like a pro.
Even home gardeners can try—with the right tools and tropical conditions. Here’s how to do it without a greenhouse, plus the common mistakes that ruin flavor development.
The 5 critical stages of vanilla bean harvesting explained
Harvesting vanilla beans isn't just about picking pods—it's a meticulous process that begins with a single hand-pollinated flower and spans 8-12 months of careful cultivation. Unlike most crops, vanilla orchids (Vanilla planifolia) rely entirely on human intervention for pollination, making every stage unique.
If you're growing vanilla in your tropical greenhouse or backyard, understanding these 5 critical stages ensures you harvest flavorful, aromatic beans instead of bitter or underdeveloped pods.
I’ve spent years working with vanilla growers in USDA Zones 10-12, and the difference between a high-quality harvest and a disappointing one often comes down to timing and technique.
The journey starts with pollination—where a tiny orchid flower must be manually fertilized—and ends with curing pods that develop their signature sweetness. Let’s break down each stage so you can replicate this process at home, even if you’re not in a traditional vanilla-growing region.
How Are Vanilla Beans Harvested?
-
Stage 1: Hand Pollination
Day 1-3 after floweringUse a sterilized toothpick to transfer pollen from the anther to the stigma of each flower. This must happen within 12 hours of opening or the flower wilts.
-
Stage 2: Fertilized Ovary Development
Weeks 1-4The pollinated ovary swells into a green pod over 4 weeks. Prune excess flowers to redirect energy to the developing pods—this prevents overcrowding and ensures larger, higher-quality beans.
-
Stage 3: Pod Growth and Maturation
Months 4-7Pods grow 6-12 inches long and turn from green to yellow-green. Monitor for pests like aphids and maintain 70% humidity to prevent cracking. Avoid overwatering—soggy pods develop mold.
-
Stage 4: Harvest Readiness (Critical Window)
Months 8-12Harvest when pods turn fully yellow, wrinkle slightly, and release a sweet vanilla scent. Use a sharp harvesting knife to cut pods at a 45-degree angle to avoid damaging the vine.
-
Stage 5: Post-Harvest Curing
Days 1-4 after harvestImmediately blanch pods in hot water (60°C/140°F) for 2 minutes, then dry in a humid, shaded area for 2 weeks. Without proper curing, pods lose 90% of their flavor.
🌱 Pro Tip: Harvest in the morning when pods are coolest—this preserves their aromatic compounds.
Most home gardeners skip Stage 1 (hand pollination) because they assume vanilla orchids won’t thrive outside tropical climates. But with a greenhouse setup and consistent 80°F+ temperatures, you can grow vanilla beans in Florida, Hawaii, or Southern California.
The key is mimicking the humid, shaded conditions of a vanilla plantation. For example, I’ve seen success with drip irrigation systems paired with shade cloth to protect pods from direct sun.
One common mistake I see is harvesting pods too early—green or partially yellow beans lack the vanillin compounds that give vanilla its signature taste. Wait until pods are fully yellow and slightly pliable (like a ripe banana).
If you harvest too late, pods become woody and bitter. Test readiness by gently squeezing a pod: it should yield slightly but not feel mushy.
After harvesting, the curing process is just as critical as the pollination. Many growers overlook this step, thinking pods can air-dry like herbs. But vanilla pods need a controlled curing process—first blanching to soften the skin, then drying in layers with high humidity (80-90%) for 2-4 weeks.
Without this, your beans will taste harsh and grassy instead of sweet and complex. I recommend using a dehumidifier near a fan to create the ideal curing environment at home.
If you’re growing vanilla in a non-tropical zone, focus on Stage 1 and Stage 2 first. Pollinate flowers diligently, then monitor pod development closely. Even if you can’t cure beans to perfection at home, you’ll still get a small harvest of edible (if less flavorful) pods.
For the best results, partner with a local spice curing specialist who can handle the final stages professionally.
Remember, vanilla orchids are perennial vines—once established, they produce flowers (and potential pods) for 10+ years. But the first harvest is the most critical. By mastering these 5 stages, you’ll unlock the secret to growing vanilla beans that rival those from Madagascar or Tahiti.
Start with just a few plants, and soon you’ll have enough pods to share with friends—or even sell at local farmers' markets!
How to identify mature vanilla pods for optimal flavor
Harvesting vanilla beans at the perfect moment transforms a simple vine into a flavor powerhouse. The key lies in understanding visual and tactile cues that signal maturity—because harvesting too early or too late drastically alters flavor.
I’ve spent years working with tropical orchids, and I can tell you: patience and attention to detail are everything when it comes to vanilla.
Vanilla pods take 8-12 months to mature after pollination, but their readiness isn’t just about time—it’s about color, texture, and scent. A pod that’s harvested too soon will lack depth, while one left too long may become woody or bitter.
Let’s break down the exact signs to watch for, so you never miss the window of perfection.
| Stage | Pod Color | Texture | Scent | Harvest Readiness |
|---|---|---|---|---|
| Unripe | Bright green | Firm, hard | None | Not ready |
| Early Maturity | Green-yellow | Slightly soft | Mild floral | Monitor daily |
| Perfect Harvest | Fully yellow | Slightly wrinkled, soft | Sweet, rich vanilla | Harvest immediately |
| Overripe | Brownish-yellow | Dry, woody | Stale, bitter | Avoid |
A fully yellow pod is your golden ticket to premium vanilla flavor. When pods reach this stage, they’ll also feel slightly wrinkled and soft to the touch—like a ripe avocado.
Gently press a pod: if it yields just a bit, it’s ready. Never harvest pods that are still green or hard, as they won’t develop the complex flavors locked inside.
One common mistake I see is harvesting pods based solely on length. While mature vanilla pods can grow up to 8-12 inches long, size alone isn’t enough. A pod might be long but still unripe if it’s green or firm.
Always prioritize color and texture over size. Another pitfall? Waiting too long for pods to turn brown. By then, the flavor has peaked and started to degrade.
Pro tip: Harvest in the morning when pods are at their freshest. Use a sharp, sterilized knife to cut the pods from the vine, leaving a small stem attached.
This prevents bruising and ensures the curing process begins optimally. After harvest, pods must undergo a 4-6 week curing process to develop their signature aroma—so timing is everything.
If you’re growing vanilla in a tropical home garden, pay extra attention to humidity levels. Low humidity can cause pods to dry out prematurely, while excessive moisture may lead to mold.
Aim for 70-80% humidity during the final maturation stage. With these cues in mind, you’ll be well on your way to harvesting vanilla beans with restaurant-quality flavor.