
How To
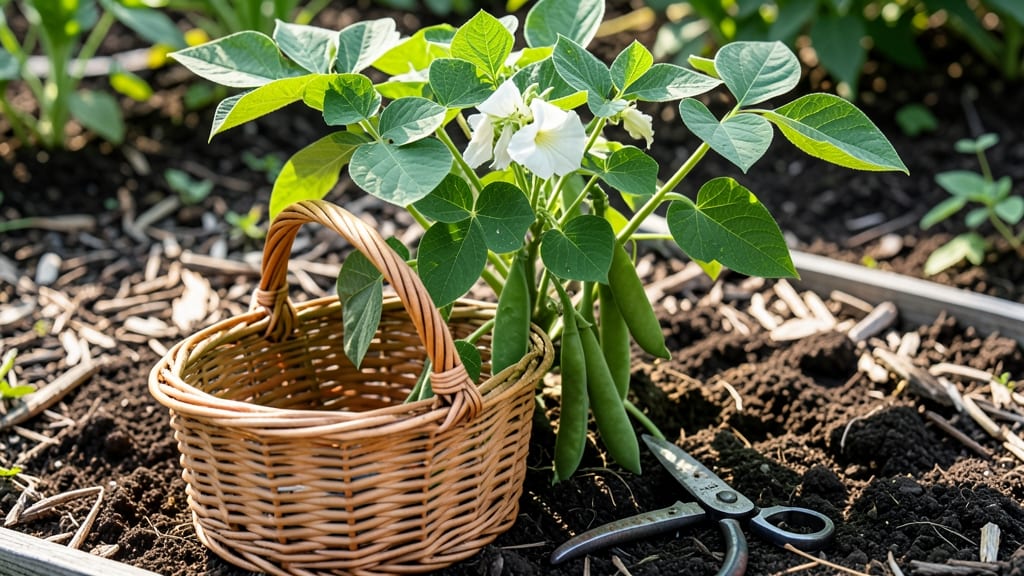
To pick snap beans at their peak means harvesting them when they’re 4–6 inches long and still crisp, before the seeds swell or the pods toughen.
Picture this: you’re reaching for a pod that snaps cleanly when you bend it, its skin smooth and bright green—that’s your cue to harvest. Miss this window, though, and you’re left with stringy, overripe beans that taste like disappointment.
Timing matters because snap beans are at their sweetest when young, and the right moment keeps your plants producing more. Below, I’ll walk you through the exact visual clues to look for, plus the best time of day to pick for maximum flavor.
Whether you’re a first-time gardener or a seasoned grower, these tips will help you avoid the common mistakes that turn crisp pods into tough, flavorless ones.

3 Key visual signs your snap beans are ready to harvest
Harvesting snap beans at the perfect moment transforms your garden into a crisp, flavorful feast. But timing is everything—pick too early, and you’ll miss out on sweetness; wait too long, and those tender pods turn tough and stringy.
The good news? Three simple visual cues will help you nail the ideal harvest window every time.
First, pay attention to pod size. Most snap bean varieties reach peak flavor when pods measure between 4 to 6 inches long. This is the sweet spot where texture and taste are at their best.
Smaller pods (under 3 inches) are still developing, while larger ones start to toughen.
Next, examine the color and texture of the pods. Ready-to-harvest beans should be a vibrant green, firm to the touch, and slightly crisp. If the pods feel soft or mushy, they’ve overstayed their welcome. Conversely, if they’re still pale or rubbery, give them a few more days to mature.
Finally, the snap test is a foolproof method. Gently bend a pod—if it snaps cleanly with a satisfying crack, it’s ready for the kitchen. No snap? Hold off on harvesting. This simple test ensures you’re picking beans at their absolute peak.
- 1
- 2
- 3
One common mistake is ignoring the seed visibility. While seeds should be visible through the pod’s translucent skin, they shouldn’t be bulging or pressing against the sides. If seeds are large and prominent, the bean has passed its prime and will taste starchy and tough.
Another pro tip: harvest regularly. Snap beans produce continuously, so checking your plants every 2-3 days ensures you’re always picking at peak ripeness. This habit also encourages the plant to produce more pods, extending your harvest season.
Climate plays a role too. In hotter regions, beans may mature faster, so monitor them closely. Conversely, cooler climates can slow ripening—don’t rush the process. Always prioritize the visual cues over guesswork for the best results.
Remember, the first harvest usually arrives about 50-60 days after planting, depending on the variety. Once you’ve mastered these signs, you’ll enjoy a steady supply of homegrown snap beans all season long.
With these three key indicators, you’ll never second-guess whether your snap beans are ready. Happy harvesting—and enjoy those crisp, homegrown pods fresh from your garden! 🌱🌿✂️
How to check snap bean ripeness without damaging the plant
Testing snap bean ripeness without harming your plants is all about gentle observation and simple techniques. You don’t need fancy tools—just your fingers, eyes, and a little patience.
The key is to avoid overhandling the pods while still confirming they’re ready for harvest. This approach keeps your plants healthy and encourages more production.
Start by focusing on the pod’s texture and sound. The most reliable method is the snap test, which tells you if the bean is at its peak crispness.
Pair this with visual cues like pod size and color to double-check ripeness. When done correctly, you’ll preserve your plant’s energy for continuous harvests all season long.
Step-by-Step Snap Bean Ripeness Check
- Step 1: Choose a pod Select a middle-sized pod (4-6 inches) from the plant. Avoid the smallest or largest pods for testing.
- Step 2: Perform the snap test Hold the pod firmly with one hand and bend it gently near the stem. A ripe pod will snap cleanly with a crisp sound.
- Step 3: Check the texture Run your thumb along the pod’s edge. It should feel firm but pliable, not hard or mushy.
- Step 4: Inspect the seeds Look inside the pod (if possible) for small, visible seeds. If seeds are bulging or dark, the pod is overripe.
- Step 5: Confirm color The pod should be bright green. Dull or yellowing pods are past their prime.
- Step 6: Harvest with care Use clean scissors or fingers to snip or twist the pod at the stem. Avoid tearing leaves or damaging vines.
If your pod snaps easily and feels crisp, it’s ready to pick! This method ensures you’re harvesting at the optimal stage without stressing the plant. For continuous production, check pods every 2-3 days and harvest all ripe ones immediately. This prevents the plant from diverting energy to overripe pods.
Overripe snap beans not only lose their crisp texture but also reduce the plant’s ability to produce more pods. By mastering the snap test and visual cues, you’ll enjoy a steady supply of fresh, tender beans all season. Plus, your plants will stay healthier and more productive.
Pro tip: Keep a small harvest basket nearby while checking pods. This makes it easy to collect ripe beans as you spot them, reducing the chance of missing any. Regular harvesting also encourages your snap beans to keep producing!