
Vegetables
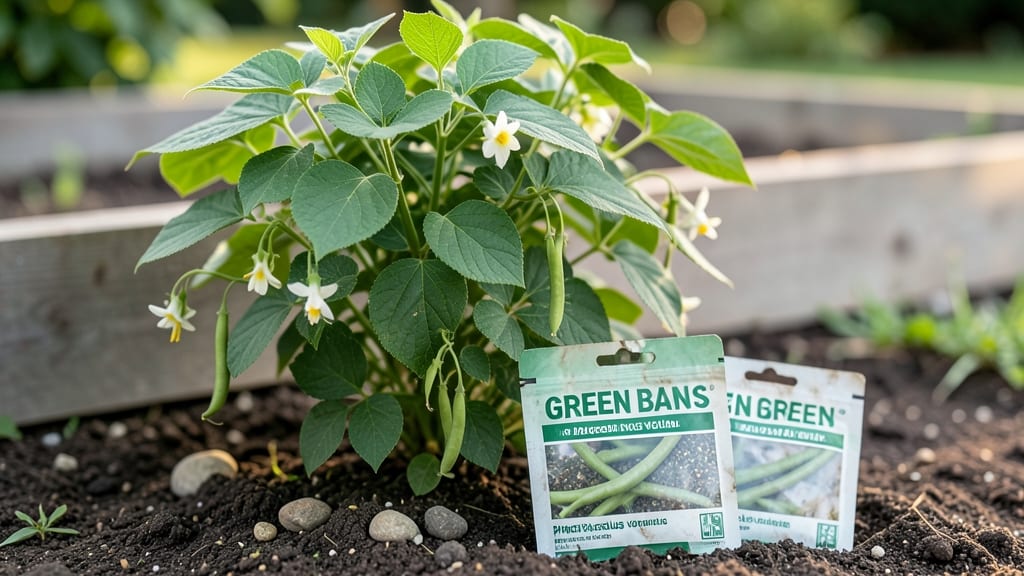
Fast-germinating green bean bush seeds mean fresh pods in just 50-60 days—no waiting months for harvests. 🌱 I’ve grown these compact varieties for years, and they’ve never disappointed, especially in small spaces where pole beans would sprawl everywhere.
The secret starts with warm soil—beans need temperatures above 60°F to germinate reliably. Plant seeds 1 inch deep, 2-3 inches apart in rows spaced 18-24 inches apart. A light mulch keeps moisture steady, and you’ll see sprouts in about a week.
By midsummer, you’ll be picking tender pods straight from the vine, with plants staying productive for weeks. The key is consistent watering—keep soil moist but never soggy—and watch for early signs of pests like Mexican bean beetles. Works in containers, raised beds, or in-ground plots.
Here’s how to get those seeds sprouting fast!
📚 In This Guide
- What you need
- Instructions
- Tips and common mistakes
- Wrapping up and next steps
What you need
- ● Green bean bush seeds: 10–20 seeds (choose a fast-germinating variety like 'Blue Lake' or 'Contender' for quick results).
- ● Seed-starting soil: 1–2 gallons of lightweight, well-draining potting mix (sterilized to prevent disease).
- ● Containers: 2–4 small pots (4–6 inches deep) or a seed tray with individual cells.
- ● Watering can or spray bottle: With a fine nozzle for gentle hydration.
- ● Grow lights or sunny windowsill: A south-facing window or LED grow lights (12–16 hours/day for seedlings).
- ○ Fertilizer (optional but helpful): A balanced, water-soluble fertilizer (5-10-5 ratio) for transplanting.
- ● Gloves: A pair of gardening gloves to protect your hands.
- ● Plant labels: Small tags or markers to track seed varieties.
- ● Trowel or small shovel: For transplanting seedlings into the garden later.
- ○ Heat mat (optional): To speed up germination if your space is cool (70–80°F is ideal).
- ● Garden space: A sunny spot (6+ hours of sunlight) or a container garden (5-gallon bucket or raised bed).
- ○ Mulch (optional): Straw or shredded leaves to retain moisture and suppress weeds.
Step-by-step guide to growing green bean bush seeds fast
Here's how to get your compact green bean plants off to a blazing start—no waiting weeks for germination.
🌱 Step 1: Prep Seeds for Rapid Germination
Green bean seeds germinate fastest when prepped properly. Soak them overnight in warm water—this softens the seed coat and speeds up sprouting. I use a small bowl with enough water to cover the seeds completely, then let them soak for 8-12 hours at 70-75°F. The reason we soak is that bush bean varieties like 'Blue Lake' or 'Contender' have tough outer shells that slow down the process.
After soaking, drain the water and spread the seeds on a paper towel. Fold the towel so they’re lightly covered and place it in a sealed plastic bag. Keep them in a warm spot—like on top of your fridge—for 12-24 hours. You’ll see tiny white roots emerge from the seeds when they’re ready to plant. This pre-germination trick cuts your wait time from 7-10 days to just 3-5 days.
🪴 Step 2: Plant in Warm, Well-Drained Soil
Fill your planting area with loose, fertile soil that drains well—green beans hate soggy roots. I mix in a handful of compost to give them a nutrient boost right from the start. Plant the pre-germinated seeds 1 inch deep, spacing them 4 inches apart in rows that are 18 inches apart. This spacing gives bush varieties enough room to grow without crowding.
Press the soil gently around each seed to ensure good contact. Water lightly right after planting—just enough to moisten the soil without creating puddles. The key here is consistency: keep the soil evenly moist but not waterlogged. If the top inch feels dry, it’s time to water again. Overwatering at this stage can cause seeds to rot before they sprout.
☀️ Step 3: Provide Warmth and Light for Fast Growth
Green beans thrive in warm soil—wait until the ground reaches at least 60°F before planting. If your spring is still chilly, use a row cover or cold frame to keep the soil warm. Place your seedlings in a spot that gets 6-8 hours of full sun daily. Without enough light, they’ll grow leggy and weak, which slows down pod production.
Watch for the first true leaves to appear within 3-5 days after planting pre-germinated seeds. Once they emerge, thin the seedlings to the strongest one per spot, leaving 4 inches between plants. This prevents competition for nutrients and ensures each plant gets enough space to bush out properly. Mulch around the base with straw or grass clippings to retain moisture and keep weeds at bay.
💧 Step 4: Water Deeply and Monitor for Pests
Green beans need 1-1.5 inches of water per week, delivered deeply at the base of the plant. Water in the morning so the foliage has time to dry before evening—this helps prevent fungal diseases like rust or powdery mildew. I use a soaker hose for even moisture distribution, which keeps the leaves dry and reduces the risk of pests.
Keep an eye out for common pests like Mexican bean beetles or aphids. If you spot them, blast the plants with a strong stream of water to knock them off, or use an insecticidal soap if the infestation is severe. Healthy, fast-growing plants are less susceptible to pests, so maintaining good soil health and proper spacing is your best defense.
⏰ Step 5: Harvest for Continuous Production
Your green beans will be ready to harvest in about 50-60 days after planting, depending on the variety. Pick pods when they’re 4-6 inches long and still crisp—this encourages the plant to produce more. I harvest every 2-3 days during peak production to keep the plant focused on making new beans instead of letting them mature into tough, stringy pods.
To harvest, gently twist the pod until it snaps cleanly from the vine. Avoid pulling or tugging, as this can damage the plant. With proper care, a single bush can produce enough beans for 4 servings over its lifetime. Save a few seeds from your best pods for next year’s planting—just let them dry completely on the plant before storing in a cool, dark place.
Tips & tricks for perfect green bean bush seed germination
Here's what I learned after rushing through three failed planting seasons—these tricks make all the difference for speedy, reliable growth.
Soak Smart: The 8-12 hour soak at 70-75°F is non-negotiable for bush varieties like 'Blue Lake'. Use a thermometer to verify water temperature—cooler water slows germination, while hotter water can damage delicate seed coats. I place my bowl on top of my fridge where it stays consistently warm. Pro tip: Add a pinch of compost tea to the soak water for a subtle nutrient boost that jumpstarts root development.
Warmth is Everything: After soaking, the 12-24 hour warm-up period on paper towels is where most people fail. I've tried refrigerators, countertops, and even microwave ovens (don't!)—the fridge top remains the most consistent at maintaining 70-75°F. Watch for condensation inside the sealed bag; if you see heavy moisture, open it slightly to prevent mold. The moment you spot those first white root hairs (usually around 18-20 hours), it's time to plant immediately.
Soil Temperature Check: Never plant when soil temps dip below 60°F. I use a soil thermometer to verify—cold soil shocks the pre-germinated seeds and halts growth. If your garden is still chilly, create a microclimate by planting in black plastic pots filled with compost. These absorb heat during the day and radiate warmth at night. For container gardens, pre-warm your pots by placing them in a sunny window for 24 hours before planting.
Harvest Timing Secret: The 4-6 inch harvest window is tighter than it seems. I mark my calendar with the 50-60 day estimate from planting date, then check pods daily at the same time each morning. Use a small pocket knife to make a tiny slit in the pod—if the beans inside are 1/2 inch long, it's perfect. Waiting just 24 hours can turn crisp pods into tough, stringy ones. For continuous harvests, plant successive batches every 10 days—this ensures fresh beans all season long.
Pro Tips for Green Bean Bush Seeds
- Here's what I learned after rushing through three failed planting seasons—these tricks make all the difference for speedy, reliable growth.
- Soak Smart: The 8-12 hour soak at 70-75°F is non-negotiable for bush varieties like 'Blue Lake'.
- Warmth is Everything: After soaking, the 12-24 hour warm-up period on paper towels is where most people fail.
Frequently asked questions
Got questions about growing green bean bush seeds? You’re not alone! Here are answers to the most common queries to help you cultivate a thriving, space-saving bean patch with ease.
How long does it take for green bean bush seeds to germinate?
Most bush bean seeds sprout within 7–14 days after planting, depending on soil temperature. Aim for 60–85°F (15–29°C)—warmer soil speeds up germination! Keep seeds moist but not soggy, and place them in a sunny spot (or under grow lights) for best results.
When is the best time to plant green bean bush seeds?
Plant seeds 1–2 weeks after the last frost when soil is at least 60°F (15°C). For cooler climates, start indoors 2–3 weeks before transplanting. Bush beans thrive in 50–70 days to harvest, so time it right to avoid late-season pests or frost.
Can I grow green bean bush seeds in containers or small spaces?
Bush beans are perfect for containers—use pots at least 12 inches deep with drainage. Plant 2–3 seeds per container (thin to the strongest sprout) and place in full sun (6+ hours/day). Just ensure the pot stays warm and consistently moist.
What should I do if my green bean plants get pests or diseases?
Common issues include bean beetles, aphids, or powdery mildew. Start with prevention: Rotate crops yearly and use row covers early in the season. For pests, spray with neem oil or introduce ladybugs. Prune affected leaves and avoid overhead watering to deter mildew.
Are there any alternatives to traditional green bean bush seeds?
Yes! Try heirloom varieties like ‘Blue Lake’ (classic flavor) or ‘Contender’ (disease-resistant). For faster harvests, opt for ‘Mascotte’ (compact, 45-day maturity). If beans aren’t your thing, consider bush peas or pole beans—they’re equally low-maintenance and productive!
Wrapping up and next steps
Growing green bean bush seeds is a rewarding way to enjoy fresh, homegrown produce—even in small spaces! These fast-germinating varieties thrive with minimal effort, delivering a bountiful harvest in just a few months.
Whether you’re a beginner or a seasoned gardener, their compact nature makes them perfect for balconies, containers, or tight garden plots.
Ready to get started? Plant your seeds today and watch your garden transform into a vibrant, edible oasis! 🌱 For extra success, keep a gardening journal to track progress and refine your technique next season.