
How To
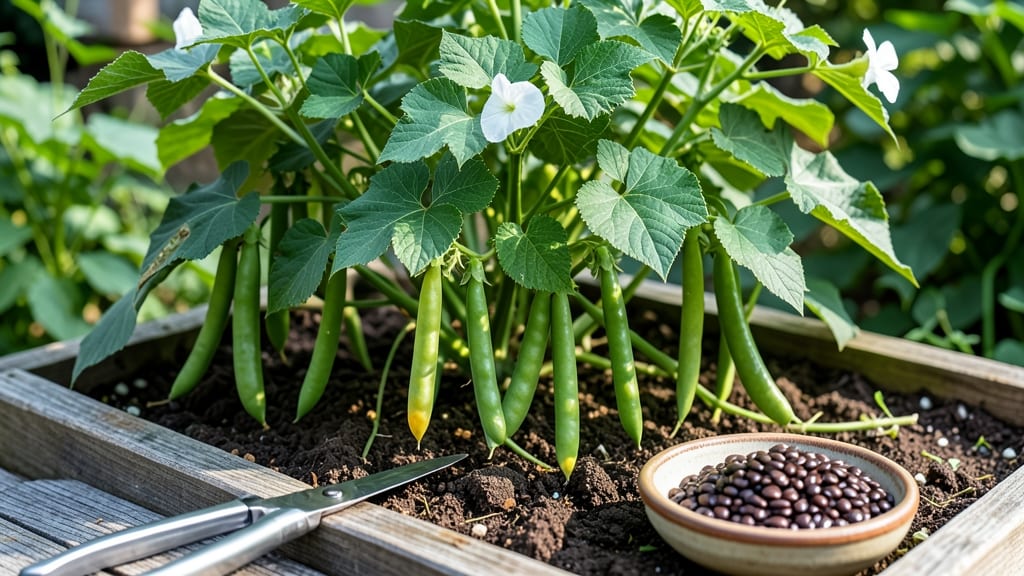
Harvesting green bean seeds from your own plants is the easiest way to save money and grow heirloom varieties year after year—if you know the right steps.
Picture this: you’ve spent all summer watching your 🌱 green beans thrive, and now you want to preserve that success for next season. But one wrong move—like picking pods too early or drying them improperly—can turn your hard work into bitter seeds or wasted effort.
In this guide, I’ll walk you through exactly when to collect those mature pods, how to dry and store the seeds properly, and which varieties are best for saving. No more guessing—just reliable, homegrown seeds ready for your next planting.
By the end, you’ll know the key to maintaining seed viability, labeling your stash, and ensuring your future harvests are just as productive as this year’s.


When and how to identify mature green bean pods for seed harvesting
Harvesting green bean seeds at the right moment ensures high germination rates and pure heirloom quality for next year’s garden. The key is waiting until pods are fully mature—not when they’re still crisp for eating.
Premature harvests lead to underdeveloped seeds that won’t sprout, while overripe pods can shatter, scattering seeds everywhere.
Mature green bean pods for seed saving transform from vibrant green to dull brown and develop a papery, dry texture. Unlike fresh pods, they’ll crunch loudly when broken open, and the seeds inside should be hard and plump.
If you pick too early, seeds stay soft and won’t survive storage.
Timing is critical: aim to harvest seeds 2-4 weeks after the plant’s last fresh pod appears. This ensures seeds have fully matured without risking frost damage. In USDA Zone 6a, this typically falls in late August to early September, just before the first frost.
Step-by-Step Guide to Harvesting Mature Green Bean Pods
- Step 1: Select healthy plants with no disease—avoid cross-pollinated varieties if preserving purity.
- Step 2: Look for dull brown pods that crunch when bent (not green or flexible).
- Step 3: Snap pods gently at the stem to avoid damaging the plant. Collect in a paper bag (not plastic).
- Step 4: Lay pods on paper towels in a dry, shaded spot for 1-2 weeks to fully dry.
- Step 5: Once completely dry, open pods to check for plump, dark seeds. Discard any shriveled or hollow seeds.
Pro tip: Label pods immediately with the variety name and harvest date using a waterproof marker. This prevents mix-ups, especially if growing multiple varieties. Store labeled pods in a cool, dry place until ready for seed extraction.
Watch for seed shatter, where pods burst open before you’re ready. If this happens, spread a tarp or newspaper under plants to catch fallen seeds. Harvest these immediately—they’re still viable! Just avoid wet conditions, which can mold seeds.
For bush beans, focus on pods near the top of the plant, as they mature first. Pole beans may require climbing to reach the highest pods. Always wear gloves if your skin is sensitive to bean fibers, which can irritate during handling.
Never harvest seeds from store-bought beans—they’re often hybridized and won’t grow true to type. Stick to heirloom varieties like ‘Kentucky Wonder’ or ‘Contender’, which reliably produce fertile seeds for saving.
After drying, test a few seeds by planting them in moist paper towels for 5-7 days. If 70%+ sprout, your batch is ready for long-term storage. Low germination means seeds need longer drying or were harvested too early.
With patience and attention to these visual cues, you’ll harvest viable seeds that guarantee a bountiful harvest next season—all from your own backyard. Happy seed saving! 🌱
Best practices for drying, cleaning, and storing green bean seeds long-term
Once you’ve harvested those mature green bean pods, the next critical step is proper drying and storage to preserve seed viability for next season. Skipping this step means risking seeds that won’t germinate—or worse, sprouting bitter, weak plants.
The key is patience and precision, whether you’re using air-drying or a gentle oven-drying method.
Start by spreading the pods in a single layer on a clean, dry surface like a mesh screen or paper towel. Place them in a well-ventilated area away from direct sunlight, where they can dry naturally for 2-3 weeks.
This slow process prevents moisture from getting trapped inside the pods, which can lead to mold or rot. Avoid rushing—moisture is the enemy of long-term seed storage.
⚠️ callout warning ⚠️
If you pick pods when they’re still green or slightly yellow, the seeds inside won’t be fully mature. Immature seeds won’t germinate properly, wasting your time and effort. Always wait until pods are completely dry and brown—they should crunch when squeezed gently. This ensures high germination rates next season.
Pro Tip: Test a few seeds by squeezing the pod—if it’s hollow and brittle, it’s ready!
After the pods are fully dry, gently crush them to release the seeds and separate the chaff (the dry husk). Use a small sieve or fine mesh to sift out the seeds, then transfer them to a clean, dry container.
For extra cleanliness, you can soak the seeds in lukewarm water for 10-15 minutes to help remove any remaining debris before drying again.
For oven-drying, set your oven to the lowest temperature (150°F or less) and spread the pods on a baking sheet. Check frequently to avoid overheating, which can kill seed viability.
Most pods will dry in 1-2 hours, but monitor closely. Once dry, follow the same cleaning process as air-drying.
Store your cleaned seeds in airtight containers like glass jars or resealable bags with a silica gel packet to absorb excess moisture. Label each container with the variety name and harvest year to avoid confusion later.
Keep them in a cool, dark place, such as a pantry or refrigerator, where they’ll stay viable for 3-5 years.
Finally, test a few seeds annually by planting them in a small pot. If they sprout within 7-14 days, your storage methods are working. If not, it’s time to refresh your seed supply from a trusted source.
With these steps, you’ll have a reliable, homegrown seed stash ready for next year’s garden! 🌱