
Propagation
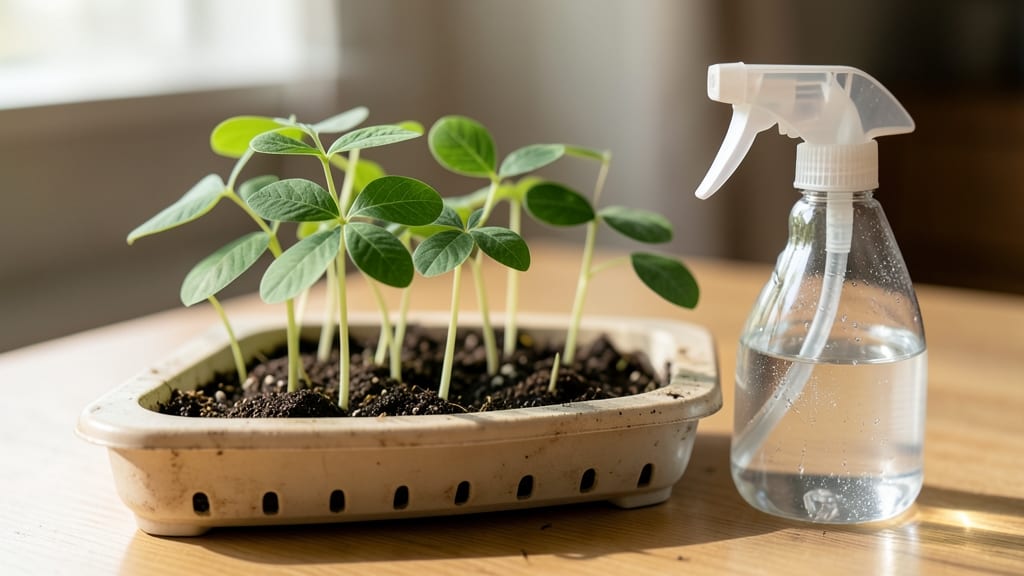
Germinating mung beans in just 6 hours feels like magic—until you see those tiny white roots poking through the skin. 🌱 I’ve turned a simple jar of beans into a fast, zero-waste way to grow both food and soil boosters, and the process is shockingly simple once you know the tricks.
The secret lies in warmth, darkness, and patience—no fancy equipment needed. You’ll soak the beans, drain them, then watch them sprout overnight. Even my black thumb can’t mess this up, because mung beans are forgiving and grow like weeds once started.
By morning, you’ll have plump, root-covered beans ready to plant or eat. The sprouts pack a protein punch, while the roots break down into rich green manure that feeds your soil. It’s gardening at its most efficient—fast, useful, and satisfying.
Here’s how to avoid the two biggest mistakes: keeping them too wet (mold alert!) and rushing the process. Let’s get those beans sprouting right.
📚 In This Guide
- What you need
- Instructions
- Tips and common mistakes
- Wrapping up and next steps
What you need
- ● Mung beans: 1 cup (about 200g) – organic, non-GMO preferred (ensure they’re not pre-cooked or canned).
- ● Water: 3–4 cups (700–950ml) – room-temperature or slightly warm (avoid chlorinated tap water; let it sit out for 10 mins if needed).
- ● Germination container: Option 1: Wide-mouth glass jar (16–32 oz) with a mesh lid or cheesecloth.
- ● Option 2: Colander with a fine-mesh strainer (plastic or stainless steel).
- ● Option 3: Sprouting lid (for mason jars) with a drainage hole.
- ● Clean kitchen towel or paper towels: 1–2 sheets – unbleached and lint-free (avoid synthetic fabrics).
- ○ Spray bottle: (optional but helpful for rinsing).
- ● Food dehydrator: For faster drying if you’re making bean sprouts.
- ● Fine-mesh sieve: For rinsing sprouts gently without bruising.
- ● Vitamin C powder (ascorbic acid): 1/4 tsp – speeds up germination and prevents mold (mix into soaking water).
- ● Label & marker: To track germination time (if experimenting!).
Step-by-step instructions for germinating mung beans
Here's the quick, reliable method I use to get crisp, flavorful mung bean sprouts in just hours.
🌱 Step 1: Soak the Seeds for Optimal Hydration
Place 1 cup of mung beans in a clean bowl with 2 cups of cool water. I like to use a glass jar with a lid for easy draining later. Let them soak for 4-6 hours at room temperature—this softens the seed coat and kickstarts germination. You'll know they're ready when they've doubled in size and feel plump between your fingers.
Don't skip this step—rinsing dry seeds directly can lead to uneven sprouting. After soaking, drain the water completely using a fine-mesh strainer or colander. Give the seeds a gentle shake to remove any remaining water droplets, as excess moisture invites mold.
💧 Step 2: Rinse and Drain for Aeration
Transfer the soaked mung beans to a sprouting jar or mesh basket with a lid. Rinse them thoroughly under cool running water for 10-15 seconds to remove any remaining seed debris. The goal is to keep them clean without damaging the tender sprouts.
After rinsing, drain the seeds completely and return them to the jar. Leave the lid slightly ajar or use a breathable cloth cover—this allows airflow while preventing debris from entering. Place the jar in a dark, 65-75°F spot (like a cabinet or countertop). You'll see tiny white sprouts appear within 6-8 hours, signaling the seeds have broken dormancy.
☀️ Step 3: Transition to Light for Chlorophyll Development
Once the sprouts reach 1-2 inches in length (usually 12-16 hours after soaking), move the jar to bright, indirect light. I place mine near a south-facing window or under a grow light. Direct sunlight can scorch the delicate sprouts, so avoid placing them in harsh midday rays.
Rinse the sprouts 2-3 times daily with cool water, draining thoroughly each time. This keeps them fresh and prevents bacterial growth. You'll notice the sprouts turn a vibrant green as chlorophyll develops—this is your cue that they're ready for harvest.
✂️ Step 4: Harvest and Store for Freshness
Harvest the sprouts when they reach 2-3 inches in length, typically 24-48 hours after initial sprouting. Use clean scissors to trim the sprouts just above the seed base if you prefer shorter lengths. Rinse them one final time and drain completely.
Store the sprouts in an airtight container lined with a paper towel to absorb excess moisture. Keep them refrigerated for up to 5 days. For longer storage, blanch and freeze—this preserves their crisp texture and nutritional value. I like to use them fresh in salads, stir-fries, or as a protein-packed snack.
⏰ Step 5: Maintain a Sprouting Schedule
For continuous harvests, repeat the process every 24 hours. Mung beans germinate quickly, so you can have fresh sprouts ready daily with minimal effort. I keep a dedicated sprouting station with all my supplies—jar, strainer, and a small spray bottle—so I can rinse and refresh without searching for tools.
Watch for signs of overgrowth—sprouts longer than 3 inches can become tough and bitter. Adjust your harvesting window based on your preferred texture. With this method, you'll always have a fresh, homegrown supply of nutrient-dense sprouts ready in just hours.
Tips & tricks for perfect mung bean sprouts
These simple strategies will help you grow vibrant, crisp sprouts every time—without the guesswork.
Soaking Secret: The 4-6 hour soaking window is critical for even germination. I've found that using warm (not hot) water speeds up the process slightly—just make sure it doesn't exceed 75°F to prevent enzyme damage. After soaking, give the beans a quick swirl in the strainer to remove any loose skins or debris that could harbor mold. This extra step makes all the difference in preventing slimy sprouts later.
Equipment Upgrade: While any clean container works, a sprouting jar with a mesh lid is a game-changer. The built-in drainage prevents waterlogging while allowing airflow—both essential for preventing bacterial growth. If you don't have one, a colander with a breathable cloth draped over it works in a pinch, but you'll need to rinse more frequently to avoid soggy sprouts.
Light Transition Tip: Moving sprouts to light at the 12-16 hour mark is where the magic happens for chlorophyll development. I place mine on a windowsill with sheer curtains to diffuse the light—this prevents the delicate sprouts from turning yellow or brown. If you notice any discoloration, it's a sign they're getting too much direct sun, and you should move them to a shadier spot immediately.
Harvesting Hack: For the crispest texture, harvest when sprouts reach 2-3 inches—any longer and they'll start developing tough, bitter stems. I like to trim them just above the seed base with clean scissors, which also removes any potential contaminants. After harvesting, give them one final rinse and drain completely before storing to maintain their freshness.
Pro Tips for Germinate Mung Beans
- These simple strategies will help you grow vibrant, crisp sprouts every time—without the guesswork.
- Soaking Secret: The 4-6 hour soaking window is critical for even germination. I've found that using warm (not hot) wa...
- Equipment Upgrade: While any clean container works, a sprouting jar with a mesh lid is a game-changer. The built-in d...
Frequently asked questions
Got questions about germinating mung beans? You’re not alone! Here are answers to the most common queries to help you sprout like a pro.
How long do mung beans take to germinate?
With the right method, mung beans typically sprout in 6–12 hours—but full germination (visible roots and a tiny shoot) usually takes 12–24 hours. Speed depends on temperature (ideal: 75–85°F), hydration, and bean quality. For fastest results, soak overnight (8+ hours) before sprouting.
Can I use store-bought mung beans for sprouting?
Yes! Just ensure they’re organic, non-GMO, and labeled for sprouting (avoid pre-cooked or canned beans). Rinse them well to remove dust/debris, then follow your soak-and-sprout routine. Pro tip: Check for cracks or discoloration—discard any damaged beans to prevent mold.
What if my mung beans aren’t sprouting after 24 hours?
Don’t panic! Try these fixes:
- Rehydrate: Soak beans in fresh water for 4–6 hours.
- Warmth boost: Place them near a sunny window or use a seedling mat.
- Check viability: Test a few beans in warm water—if they float, they’re likely bad.
Do I need special equipment to germinate mung beans?
Nope! While sprouting jars or mesh bags are handy, you can use:
- A clean jar with a lid + cheesecloth.
- A bowl with a colander.
- Even a damp paper towel in a sealed container.
Are germinated mung beans safe to eat raw?
Once sprouted (roots + shoot), they’re nutrient-packed and safe to eat raw in salads, wraps, or smoothies. Just rinse thoroughly before consuming. For extra safety, lightly steam or air-fry for 2–3 minutes to enhance digestibility. Never eat raw if moldy or slimy!
Wrapping up and next steps
Germinating mung beans is a simple, rewarding process that unlocks fresh, nutrient-packed sprouts in just hours! 🌱 With the right tools—a clean jar, fresh beans, and a little patience—you’re well on your way to growing your own food at home.
Whether you’re sprouting for salads, snacks, or soil enrichment, this method is your gateway to faster, fresher, and healthier results.
Now that you’ve mastered the soak-to-sprout technique, why not experiment further? Try growing your sprouts in a mesh bag or explore other quick-sprouting seeds like lentils or chickpeas. Happy growing—your kitchen (and taste buds) will thank you! 🌟