
Vegetables
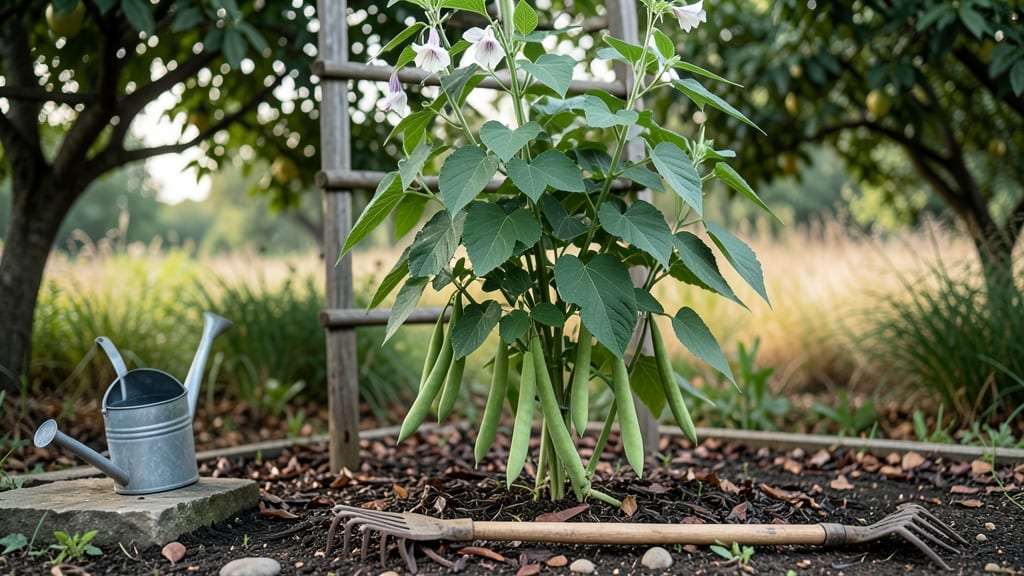
Growing patio green beans in containers lets you enjoy fresh, homegrown beans without a yard—just a sunny spot and the right pole varieties. 🌱 I’ve grown these in 5-gallon pots for years, and my 'Blue Lake Bush' and 'Kentucky Wonder' climb happily, producing more than I can eat.
The key is choosing compact pole beans that won’t outgrow your space, and the payoff is crisp, flavorful pods straight from your balcony.
You’ll need 5-gallon containers (or deeper for multiple plants), well-draining potting mix, and a sturdy trellis or tomato cage for support. Start seeds indoors 2-3 weeks before your last frost or plant young seedlings when soil reaches 60°F.
Space plants 4-6 inches apart in the container, and keep them in full sun for 6-8 hours daily. Water consistently—never let the soil dry out completely, but avoid soggy roots.
Harvest begins 50-60 days after planting, when pods are 4-6 inches long and crisp. Pick regularly to encourage more production, and watch for pests like bean beetles or aphids—spray with soapy water if needed.
With the right setup, you’ll enjoy a steady harvest for weeks, and the vertical growth keeps your patio tidy. The best part? No bending over—just reach up and snip!
Works for any small space, from city balconies to rural patios. If you’ve ever dreamed of growing your own beans but lacked space, this is your chance. Let’s get those seeds in the ground—or in the pot!
📚 In This Guide
- What you need
- Instructions
- Tips and common mistakes
- Wrapping up and next steps
What you need
- ● Pole bean seeds (choose compact varieties like 'Blue Lake Bush,' 'Kentucky Wonder,' or 'Rattlesnake'): 5–10 seeds per container (or 2–3 plants per 5-gallon pot)
- ● Organic, non-GMO preferred
- ● Containers (with drainage holes!): 5-gallon pots or larger (minimum 12–18 inches deep)
- ● Fabric grow bags (10–15 gallons) for better airflow
- ○ Self-watering planters (optional but convenient)
- ● High-quality potting mix: 10–20 lbs, depending on container size
- ● Lightweight, well-draining blend (avoid garden soil)
- ● Trellis or support structure: 3–6 ft tall bamboo stakes, A-frame trellis, or tomato cages
- ● Secure with soft ties or twine (avoid wire—it can damage stems)
- ● Fertilizer: Balanced organic fertilizer (10-10-10 or 5-5-5)
- ● Slow-release granules or liquid feed (follow package rates)
- ● Basic gardening tools: Trowel or small hand shovel
- ● Pruners (for trimming later)
- ● Spray bottle (for watering seeds)
- ○ Optional (but helpful!): Mulch (straw or shredded leaves to retain moisture)
- ● Drip irrigation kit (for consistent watering)
- ● Compost or worm castings (for nutrient boost)
- ● Shade cloth (if your patio gets scorching sun)
- ● Sunny spot! At least 6–8 hours of direct sunlight daily.
- ● Warm soil (wait until after the last frost and soil is 60°F+).
- ● Patience—pole beans take 50–60 days to harvest!
Step-by-step guide to growing pole green beans in containers
Here's how I grow vigorous, high-yielding pole beans in pots—no garden needed.
🪴 Step 1: Choose the Right Container and Prepare the Soil
Select a container at least 12 inches deep and 18 inches wide for each plant, with multiple drainage holes. I use fabric grow bags because they prevent root circling and allow excess water to escape. Fill the container with a mix of 50% high-quality potting soil and 50% compost—this ensures excellent drainage while retaining moisture. Avoid garden soil, which compacts and suffocates roots.
Before planting, moisten the soil mixture until it feels like a damp sponge—squeeze a handful, and if it holds together but no water drips, you're good. This prevents dry pockets that can stunt young roots. I like to add a handful of worm castings to each pot for extra nutrients and beneficial microbes.
🌱 Step 2: Plant Seeds at the Correct Depth and Spacing
Pole beans need support, so install a 5-foot trellis or sturdy bamboo stake in the center of the container before planting. For 4 plants, sow 3-4 seeds per container at a depth of 1 inch. Planting deeper than this can delay germination because the seedling must push through extra soil. Space seeds 2-3 inches apart in a circle around the trellis.
After sowing, cover lightly with soil and water gently with a spray bottle to avoid displacing seeds. Place the container in a warm, sheltered spot with indirect light until germination, which typically occurs in 7-14 days. The soil should stay consistently moist but not soggy—think of a wrung-out sponge.
☀️ Step 3: Provide Support and Optimal Light Conditions
Once seedlings emerge, thin to the strongest 2-3 plants per container by snipping the weakest at soil level with clean scissors. This prevents competition for nutrients and air circulation. Immediately after thinning, install the trellis and gently guide the remaining stems to climb. Pole beans naturally twine, so they'll latch on without tying.
Move the container to a location with 6-8 hours of direct sunlight daily. South-facing windows or a sunny patio work well, but if you're using grow lights, position them 12-18 inches above the plants for 12-14 hours daily. Yellowing leaves or leggy growth signal insufficient light—adjust as needed.
💧 Step 4: Water and Fertilize for Maximum Yield
Water when the top inch of soil feels dry, typically every 2-3 days in warm weather. I water at the base in the morning to reduce evaporation and fungal risks. Avoid wetting the leaves, which can lead to disease. Mulch with 1 inch of straw to retain moisture and suppress weeds.
When flowers appear, switch to a balanced liquid fertilizer (10-10-10) diluted to half-strength every 2 weeks. This boosts pod production without overloading the plants. Stop fertilizing once pods form—too much nitrogen at this stage reduces yield. Watch for white or yellow flowers that signal readiness to pollinate.
✂️ Step 5: Harvest and Maintain for Continuous Production
Harvest begins when pods reach 4-6 inches long and are firm but tender. Pick every 2-3 days to encourage more production—beans left too long on the vine become woody and tough. Use sharp scissors or fingers to snap pods cleanly at the stem. Regular harvesting also prevents the plant from putting energy into seed production.
After the first harvest wave, prune back any yellowing or diseased leaves immediately to redirect energy to healthy growth. If your variety is bushy, trim back leggy stems to 12 inches to promote bushier growth. With proper care, a single container can produce 2-3 pounds of beans per season—enough for fresh eating or freezing.
Tips & tricks for growing pole green beans in containers
Here's what nobody tells you about maximizing your patio bean harvest—these are the details that separate good growth from exceptional yields.
Container Selection: While fabric grow bags are ideal, any container with drainage holes works—just avoid plastic without holes, which can lead to root rot. I've had great success with repurposed buckets or even large ceramic pots, as long as they're at least 12 inches deep. The key is ensuring roots have room to breathe and excess water escapes, preventing that dreaded soggy soil scenario.
Germination Boost: To speed up germination within the 7-14 day window, soak your seeds overnight in a damp paper towel before planting. This pre-hydration gives them a head start, especially if your kitchen stays cool. I also like to place containers on a heating pad set to low during germination—just be sure to move them to room temperature once sprouts appear. The goal is to maintain consistent warmth without overheating.
Light Optimization: When using grow lights for those 12-14 hours daily, position them just above the plants' height to prevent leaf burn. I rotate my containers daily to ensure even growth—this prevents lopsided plants reaching toward one light source. For maximum efficiency, use full-spectrum LED grow lights, which mimic natural sunlight better than traditional bulbs and use less energy. This is particularly helpful if your patio doesn't get full sun exposure.
Harvest Timing: The 4-6 inch size window is crucial—pods this size contain maximum flavor and tenderness. I harvest every morning to stay ahead of the 2-3 day production cycle. Use a small pair of pruning shears for clean cuts, and always harvest from the bottom up to encourage upward growth. This method also prevents the plant from diverting energy to seed production, keeping it focused on producing more edible pods throughout the season.
Pro Tips for Patio Green Beans
- Here's what nobody tells you about maximizing your patio bean harvest—these are the details that separate good growth from exceptional yields.
- Container Selection: While fabric grow bags are ideal, any container with drainage holes works—just avoid plastic without holes, which can lead to root rot.
- Germination Boost: To speed up germination within the 7-14 day window, soak your seeds overnight in a damp paper towel before planting.
Frequently asked questions
Got questions about growing patio green beans in containers?
You’re not alone! Here are answers to the most common queries—whether you’re a first-time gardener or a seasoned green thumb looking to optimize your harvest.
What’s the best pole bean variety for small containers?
Opt for compact varieties like Kentucky Wonder, Blue Lake Bush, or Rattlesnake, which thrive in 10–12" pots. Avoid sprawling types like Romano—they need trellises and more space. Pro tip: Look for "bush" or "compact" labels on seed packets for patio-friendly picks!
How long does it take for pole beans to grow in containers?
From seed to harvest, expect 50–60 days for most varieties. Start seeds indoors 2–3 weeks before your last frost, then transplant. Heat-tolerant types (like Contender) may mature faster in warm climates. Check seed packets for exact days-to-maturity!
Why aren’t my patio green beans producing pods?
Common culprits: inconsistent watering (soil should stay evenly moist), lack of pollinators (hand-pollinate with a paintbrush if bees are scarce), or overcrowding. Prune lower leaves to improve airflow, and fertilize lightly with low-nitrogen compost every 3–4 weeks.
Can I grow pole beans in hanging baskets?
Use 12"+ deep baskets with drainage holes and a sturdy trellis. Varieties like Mascotte (dwarf pole beans) are ideal. Add slow-release fertilizer and water daily—hanging pots dry out faster. Just ensure baskets get 6+ hours of sun daily.
How do I harvest patio green beans for the best flavor?
Pick pods when they’re 4–6 inches long and tender (before seeds bulge). Use scissors or pinch stems to avoid damaging vines. Harvest every 2–3 days to encourage more production. Pro tip: Try them fresh in salads or blanch for 3 minutes to preserve crispness!
Can I overwinter pole beans in containers?
Not recommended—pole beans are annuals and die in frost. However, you can extend the season by moving pots to a sheltered spot (like a garage) before hard freezes. Save seeds from your best pods for next year’s patio harvest!
Wrapping up and next steps
Growing patio green beans in containers is a rewarding way to enjoy fresh, homegrown veggies—even in small spaces! 🌱 Pole varieties like Kentucky Wonder or Blue Lake thrive with minimal effort, offering a bountiful harvest with just a little sunlight, water, and love.
Whether you're a beginner or a seasoned gardener, these tips and FAQs will help you cultivate healthy, delicious beans right on your patio.
Now that you’re ready to plant, take the next step—grab your containers, pick your favorite variety, and get growing! Soon, you’ll be snapping fresh green beans straight from your patio garden. Happy planting! 🌿