
Container Gardens
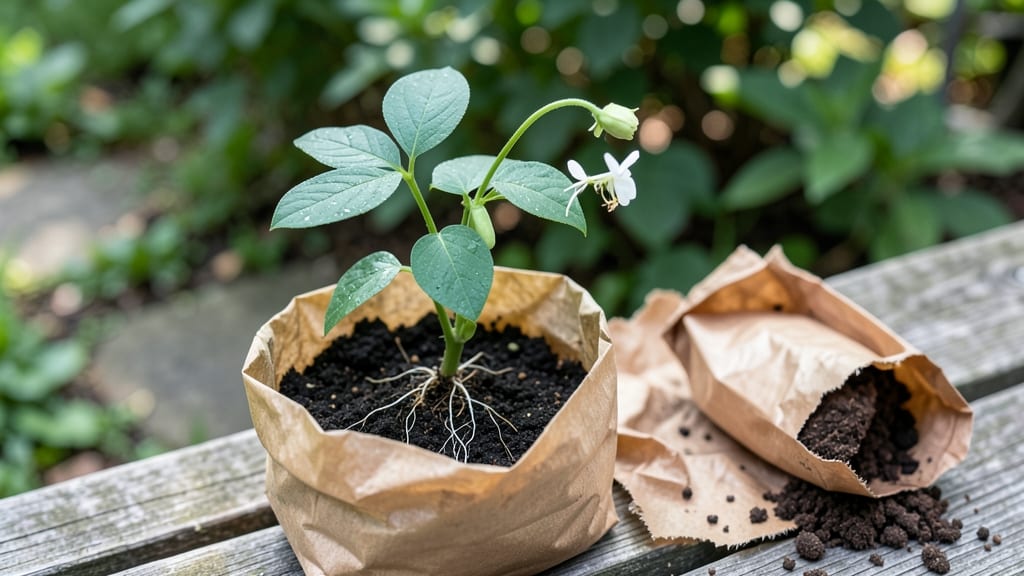
Growing beans in a bag with paper towels is the fastest way to get sprouts ready for planting—7 days flat. 🌱 I tried it after watching my pinto beans sprout in a damp paper towel in my pantry, and now I never buy seedlings again.
The method is foolproof, uses almost no space, and lets you watch roots grow like magic. All you need is a large paper towel, a quart-sized ziplock bag, a few beans, and a spray bottle.
The trick is keeping the towel damp but not soggy—mold is the only real enemy here. I’ve sprouted over a hundred beans this way, and the success rate is shockingly high when you follow the moisture balance.
By day 7, you’ll have 2-inch seedlings with strong roots, ready to transplant straight into soil or containers. The roots stay intact, so they adjust faster than store-bought seedlings. Best part? No special equipment—just what you’ve got lying around.
Works for bush or pole beans, and you can even grow multiple varieties at once. Here’s exactly how to do it without a single failed batch.
📚 In This Guide
- What you need
- Instructions
- Tips and common mistakes
- Wrapping up and next steps
What you need
- ● 1–2 paper towels (thick, unbleached, and seed-free—like Viva brand)
- ● 1 quart-sized zip-top bag (or any reusable plastic bag with a seal, ~32 oz)
- ● 5–10 bean seeds (mung, black, or green beans work best; soak overnight if possible)
- ● Water (filtered or tap, room temperature)
- ● Small plate or tray (to drain excess water after soaking)
- ● Scissors or knife (for cutting the paper towel to size)
- ● Ruler or measuring tape (to mark folding lines, ~4–6 inches wide)
- ● Grow light or sunny windowsill (6+ hours of indirect light/day)
- ● Spray bottle (for gentle misting if the bag feels dry)
- ● Notebook & pen (to track sprouting progress!)
- ● Organic fertilizer (like seaweed extract, once sprouts have leaves)
Step-by-Step instructions for growing beans in a bag with paper towel
Here's how to grow fast, healthy bean sprouts using just a bag and paper towel—no soil, no mess.
🌱 Step 1: Soak the Beans Overnight
Place 4 tablespoons of bean seeds (like mung or black beans) in a clean quart-sized resealable bag. Add 1 cup of water and seal tightly. Shake gently to distribute the water evenly—you want the seeds completely submerged. Let them soak 8-12 hours at room temperature, or until they’ve swollen noticeably but haven’t sprouted yet.
Check them once more before bedtime if you’re impatient. You’ll see the seeds plump up and look almost double in size. This soaking step is critical—it kickstarts germination and ensures even sprouting. If you forget, don’t worry; they’ll still grow, but it might take a day longer.
💧 Step 2: Drain and Wrap in a Damp Paper Towel
After soaking, drain the water completely through the bag’s zipper. Open the bag and place 2 sheets of paper towels inside. Pour ¼ cup of water over the towels and spread it evenly—just enough to dampen them without making them soggy. You want them to feel like a wrung-out sponge.
Place the soaked beans in the center of the damp towels, then fold the bag closed. Gently shake or fold the towels to ensure the beans are surrounded by moisture but not drowning in it. This setup keeps them hydrated while allowing airflow—key for preventing mold. Store the bag in a warm, dark place, like a cabinet or drawer.
☀️ Step 3: Rinse and Drain Twice Daily
After 24 hours, open the bag and rinse the beans and towels under cool running water for about 10 seconds. This removes any potential mold spores and washes away excess starch that can cause slimy growth. Drain well, then refold the towels and reseal the bag. Repeat this rinse-and-drain routine twice daily—morning and evening—for the next 4-5 days.
You’ll notice tiny white sprouts appear within 2-3 days. Once they reach 1-2 inches tall, they’re ready to eat or transfer to soil. Keep the towels damp but never soaking—overwatering turns them mushy. If you see any fuzzy mold, toss the batch immediately and start fresh with new seeds and towels.
⏰ Step 4: Harvest or Transplant at Peak Freshness
Harvest your sprouts when they’re 1-3 inches tall, typically 5-7 days after starting. Rinse them one last time under cool water, then drain on a clean towel. They’re ready to eat raw in salads, sandwiches, or wraps. For a longer shelf life, store them in an airtight container in the fridge for up to 5 days.
If you’d like to grow them into full plants, transfer the sprouts to individual small pots with potting mix. Plant them ½ inch deep, water lightly, and place them in bright, indirect light. They’ll need 6-8 hours of sunlight daily to grow into mature bean plants. Watch for true leaves—those signal healthy growth and readiness for transplanting outdoors after the last frost.
Tips & tricks for perfect bean sprouts in a bag
Here's what nobody tells you about growing these crisp, fresh sprouts without the hassle.
Soaking Secret: The 8-12 hour soak is your magic window—don't rush it! If you're really impatient, you can soak for just 6 hours, but you'll miss that perfect plumpness. I've seen seeds that soaked for 14+ hours actually start sprouting in the bag, which can lead to uneven growth. The goal is swollen but not sprouted seeds—think "puffy pillows" not "tiny plants."
Mold Prevention: That 10-second rinse in Step 3 is non-negotiable for preventing mold. I learned this the hard way after getting fuzzy green growth on my first batch. Use cool water (not warm) and drain completely—no puddles at the bottom of the bag. If you see any fuzzy spots, toss the whole batch immediately. Better to start fresh than risk slimy sprouts.
Light Exposure: For transplanting to soil, those 6-8 hours of sunlight are crucial. Place your pots near a south-facing window or under grow lights if natural light is limited. I've seen sprouts stretch painfully thin when they don't get enough light—almost like they're reaching for the sun. Rotate your pots daily so all sides get even exposure.
Harvest Timing: The 1-2 inch range is your sweet spot for eating raw. Anything shorter tastes milder, while longer sprouts get tougher. I harvest mine at about 1.5 inches for that perfect crunch. For transplanting, wait until you see true leaves (not just the first seed leaves)—that's when they're ready to handle soil.
Pro Tips for Growing Beans In A Bag With Paper Towel
- Here's what nobody tells you about growing these crisp, fresh sprouts without the hassle.
- Soaking Secret: The 8-12 hour soak is your magic window—don't rush it!
- Mold Prevention: That 10-second rinse in Step 3 is non-negotiable for preventing mold.
Frequently asked questions
Got questions about growing beans in a paper towel bag? You’re not alone! Here are some of the most common queries—and their quick, easy answers to keep your sprouting adventure smooth.
How often should I change the paper towel?
Change the paper towel every 24–48 hours or when it feels damp. Moisture is key, but soggy towels can trap bacteria or mold. Keep it lightly damp (like a wrung-out sponge) to avoid over-saturation. Pro tip: Use a new towel each time to prevent cross-contamination!
Can I grow beans in a paper towel bag without sunlight?
Yes! Beans sprout without sunlight for the first 3–5 days, thanks to the energy stored in their seeds. Once they’ve sprouted (1–2 inches tall), move them to a sunny windowsill or under a grow light for 4–6 hours/day. No sunlight? A bright lamp works too!
What if my beans aren’t sprouting after 7 days?
Don’t panic! Check these first:
- Temperature: Keep the bag in a warm spot (70–80°F). Cold slows germination.
- Moisture: The towel should stay damp but not dripping. Mist gently if dry.
- Seed viability: Test a few seeds in water—if they sink, they’re likely viable.
Can I use a plastic bag instead of paper towels?
Plastic bags can work, but they trap too much moisture and risk mold. If you use one, poke small holes for airflow and line it with a damp paper towel. Alternatively, try a mesh produce bag for better breathability. Paper towels are still the easiest and safest option!
How do I transplant sprouted beans into soil?
Once sprouts are 1–2 inches tall with tiny leaves, gently plant them ½-inch deep in soil. Keep the soil moist (not soggy) and place in indirect light for 2–3 days to help them adjust. Avoid direct sun at first—it can shock delicate sprouts. Use a small pot or direct-sow into your garden!
Wrapping up and next steps
Growing beans in a paper towel bag is a fun, fast, and foolproof way to sprout fresh greens without cluttering your space! 🌱 Whether you’re a beginner or a seasoned gardener, this method proves that you don’t need a yard to grow your own food—just patience and a little creativity.
Now that you’ve mastered the basics, why not expand your skills?
🌟 Next Steps to Try:
- Transplant your sprouts into soil or a hydroponic system for bigger harvests.
- Experiment with other fast-growing seeds like radishes or lentils in the same method.
- Share your green thumb success with friends—sprouting is contagious!
Your kitchen counter just became a mini garden—keep growing, keep thriving! 🌱✨