
Propagation
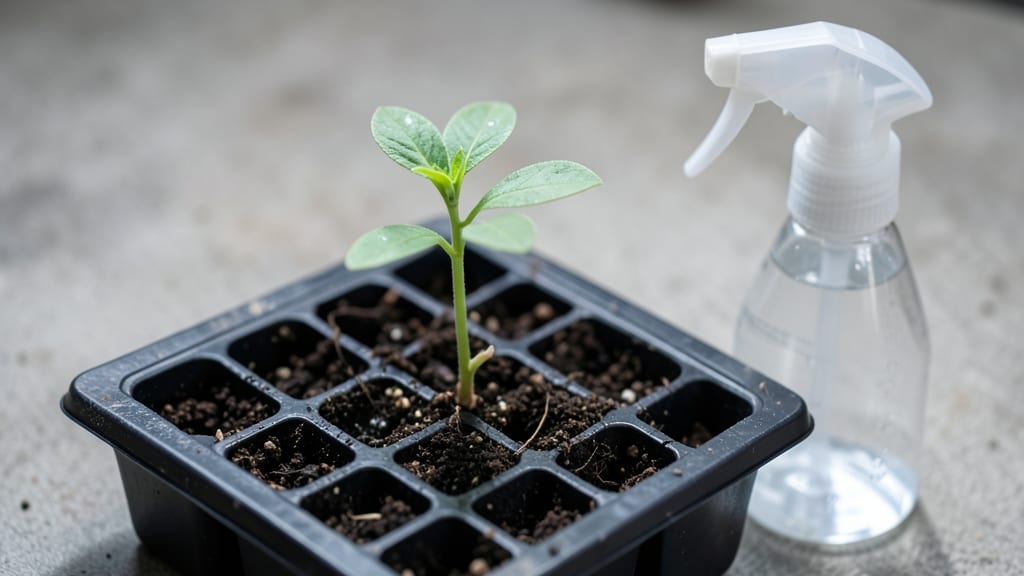
Sprouting bean seeds in just 3 days—no soil needed. 🌱 I used to wait weeks for beans to germinate, but this method cuts that time dramatically while giving you stronger, more resilient seedlings. The key is moisture, warmth, and patience, with no fancy equipment required.
You’ll need a shallow container, damp paper towels, and a plastic bag to create a mini greenhouse. Place your seeds 1-2 inches apart on the damp towels, seal them up, and keep them in a warm spot.
Within 24 hours, you’ll see tiny roots peeking out—by day 3, they’ll be ready to transplant. What you end up with are vigorous seedlings that establish faster in the garden. They handle transplant shock better and start producing sooner.
Plus, this method works for kidney beans, runner beans, or even black-eyed peas—no matter your favorite variety. The best part? You can do this indoors or outdoors, even on a sunny windowsill. Once your sprouts have 1-inch stems, they’re ready to move into soil.
Here’s how to keep them thriving after the first step!
📚 In This Guide
- What you need
- Instructions
- Tips and common mistakes
- Wrapping up and next steps
What you need
- ● Bean seeds: Choose high-quality, organic seeds like mung beans, lentils, chickpeas, or black beans. You’ll need about ½ to 1 cup (roughly 100–200 seeds) to start.
- ● Water: Use room-temperature, filtered, or distilled water (chlorine-free if possible). You’ll need about 2–3 cups per batch for rinsing.
- ● Sprouting container: A glass jar (16–32 oz) with a mesh lid or breathable cover (like a sprouting lid or cheesecloth secured with a rubber band).
- ● OR a dedicated sprouting pod (like a Sprout People or Miracle-Gro Sprouter).
- ● Colander or strainer: A stainless steel or plastic colander (with small holes) for draining excess water.
- ○ Paper towels or sprouting liner: A few sheets of unbleached, food-grade paper towels or a sprouting liner to line your container (optional but helps with airflow).
- ● Seed soaking tray: A shallow tray or bowl to hold your jar during soaking (prevents spills!).
- ● Digital kitchen scale: For precision if you’re measuring seed quantities for experiments or recipes.
- ● Small fan or ventilation tool: A gentle breeze (like a small fan on low) can speed up drying between rinses.
- ● Food dehydrator: For drying sprouts faster if you’re prepping them for long-term storage.
- ● Storage container: An airtight glass jar or container to store finished sprouts in the fridge (keeps them fresh for up to 5 days).
Step-by-Step instructions for sprouting bean seeds in 3 days
Here's how to grow tender, edible bean sprouts in just 3 days—no soil, no mess, just fresh greens.
🌱 Step 1: Soak Seeds Overnight for Maximum Germination
Place 4 tablespoons of bean seeds (black, mung, or adzuki work best) in a clean quart-sized mason jar. Cover them with 2 cups of lukewarm water—room temperature feels best, around 70°F. Let them soak for 8-12 hours, or overnight. You'll know they're ready when they double in size and feel slightly plump to the touch.
Here's the thing—don't skip the soaking. The seed coat slows germination, and this step softens it considerably. After soaking, drain the water completely through a fine-mesh strainer and return the seeds to the jar. Leave them uncovered for 10-15 minutes to aerate, which prevents mold from forming later.
💧 Step 2: Rinse and Drain Twice Daily for Rapid Growth
Set up your jar at a 45-degree angle in a bowl or colander to allow water to drain freely. Every 12 hours, rinse the seeds under cool running water for 30 seconds to remove any debris and refresh them. Drain thoroughly each time—standing water smothers the sprouts and invites slimy mold.
You'll see the first tiny white roots emerge within 24 hours. By 48 hours, they'll be ½ inch long, and the seeds will split open. This is your signal to keep rinsing—twice daily—until the sprouts reach 2-3 inches in length, which takes 3 days total. The key is consistency: no skipping rinses, no letting them sit dry.
☀️ Step 3: Position for Optimal Light and Airflow
After the first 24 hours, move the jar to a bright spot—near a window with indirect sunlight works best. Avoid direct sun, which can overheat the jar and cook the delicate sprouts. If your space is dim, place the jar under a grow light for 12-14 hours daily. You'll notice the sprouts turn a vibrant green as they photosynthesize.
Keep the jar in a well-ventilated area—a kitchen counter works well. Good airflow prevents mold and keeps the sprouts crisp. If you notice any fuzzy white or black spots, rinse immediately and increase airflow. Healthy sprouts should smell fresh, not musty.
✂️ Step 4: Harvest at Peak Freshness for Best Flavor
Harvest your sprouts when they reach 2-3 inches in length, usually on day 3. Use a pair of clean kitchen scissors to snip the sprouts just above the seeds—this keeps the jar clean for future batches. Rinse them one final time under cool water, then drain in a colander.
For the freshest taste, use them within 2-3 days. Store them in an airtight container in the fridge for up to 5 days, but they’ll lose some crunch over time. Real talk: the first batch might feel like a science experiment, but once you nail the rhythm, you’ll have fresh sprouts ready in 3 days flat—no garden required.
Tips & tricks for perfect bean sprouting
Fast germination isn't just about time—it's about creating the ideal conditions from the very start. Here's how to maximize your 3-day success rate.
Water Temperature Matters: That 70°F lukewarm water in Step 1 is non-negotiable. Too hot (above 85°F) can shock the seeds, while cold water (below 60°F) slows germination. Use a kitchen thermometer if you're unsure—your tap water might be trickier than you think. The goal is to wake up those seeds gently without stressing them.
Angle and Drainage Strategy: The 45-degree angle in Step 2 isn't arbitrary—it creates perfect drainage while maximizing surface area for oxygen. If your jar won't stay at that angle, prop it up with a folded kitchen towel. And here's what nobody tells you: the colander should have drainage holes larger than your seeds to prevent clogging during rinses.
Light Timing Secret: After the first 24 hours, those 12-14 hours of light become critical. If you're using natural light, rotate your jar every 6 hours to ensure even exposure. Dim rooms? A simple LED grow light (or even a bright desk lamp) works perfectly—just keep it 6-8 inches away to avoid heat damage. The green color change happens fastest with consistent light exposure.
Mold Prevention: That 10-15 minute aeration after soaking isn't just about preventing mold—it's about establishing airflow patterns. If you notice any fuzzy spots during the 3-day process, immediately rinse with cool water and increase airflow. The key is catching mold early: a few spots can be salvaged, but once you see black or green fuzz, it's time to start fresh.
Pro Tips for Sprout Bean Seeds
- Fast germination isn't just about time—it's about creating the ideal conditions from the very start. Here's how to ma...
- Water Temperature Matters: That 70°F lukewarm water in Step 1 is non-negotiable. Too hot (above 85°F) can shock the s...
- Angle and Drainage Strategy: The 45-degree angle in Step 2 isn't arbitrary—it creates perfect drainage while maximizi...
Frequently asked questions
Got questions about sprouting bean seeds? You’re not alone! Here are some of the most common concerns—and straightforward answers—to help you master the process like a pro.
How long do bean seeds take to sprout?
Most bean seeds (like mung, black, or pinto beans) sprout in 3 to 5 days when kept in warm, moist conditions. For fastest results, soak seeds overnight (8–12 hours), then rinse 2–3 times daily. Humidity and temperature (ideally 70–80°F) speed up germination. Patience is key—some varieties may take a day or two longer!
What if my bean seeds aren’t sprouting?
Don’t panic! First, check if your seeds are viable—soak a few in water for 24 hours. If they sink, they’re good; if they float, they’re likely old or damaged. Other culprits? Too little moisture (rinse seeds every 12 hours), low humidity (use a sprouting lid or damp paper towel), or cold temps (move to a warmer spot, like near a sunny window). Try a new batch if needed!
Can I use any type of bean for sprouting?
Not all beans are created equal! The best sprouting beans are small, soft, and non-toxic when raw, like mung, adzuki, lentils, or chickpeas. Avoid large beans (like kidney or navy beans), which can be hard to digest and may contain lectins—toxic compounds that reduce when cooked. Stick to certified organic seeds for safety!
How often should I rinse sprouting beans?
Rinsing keeps your sprouts fresh and prevents mold. Aim for 2–3 rinses per day (morning and evening work well). After the first 24 hours, give them a quick rinse and drain thoroughly. Use a fine-mesh sprouting lid or colander to avoid damaging delicate sprouts. Pro tip: Let them air-dry for 5–10 minutes after rinsing to reduce excess moisture!
Are sprouted beans safe to eat raw?
Yes! Sprouted beans are nutrient-packed and safe to eat raw (after proper rinsing). They’re rich in digestible proteins, fiber, and enzymes that boost nutrition. However, always rinse thoroughly before eating to remove any lingering bacteria. For extra safety, lightly steam or blanch them if serving to kids, elderly, or immunocompromised individuals.
Wrapping up and next steps
Sprouting bean seeds in just 3 days without soil is easier—and more rewarding—than you might think! With the right materials, a little patience, and a dash of care, you’ll soon enjoy fresh, nutrient-packed sprouts for salads, snacks, or even cooking.
Whether you’re a gardening newbie or a seasoned green thumb, this method proves that growing food at home is accessible, fast, and fun.
Now that you’re armed with the know-how, why not take the next step? Try experimenting with different bean varieties, like mung or lentils, or even grow your sprouts in a creative container. Happy sprouting—your kitchen (and taste buds) will thank you! 🌱✨